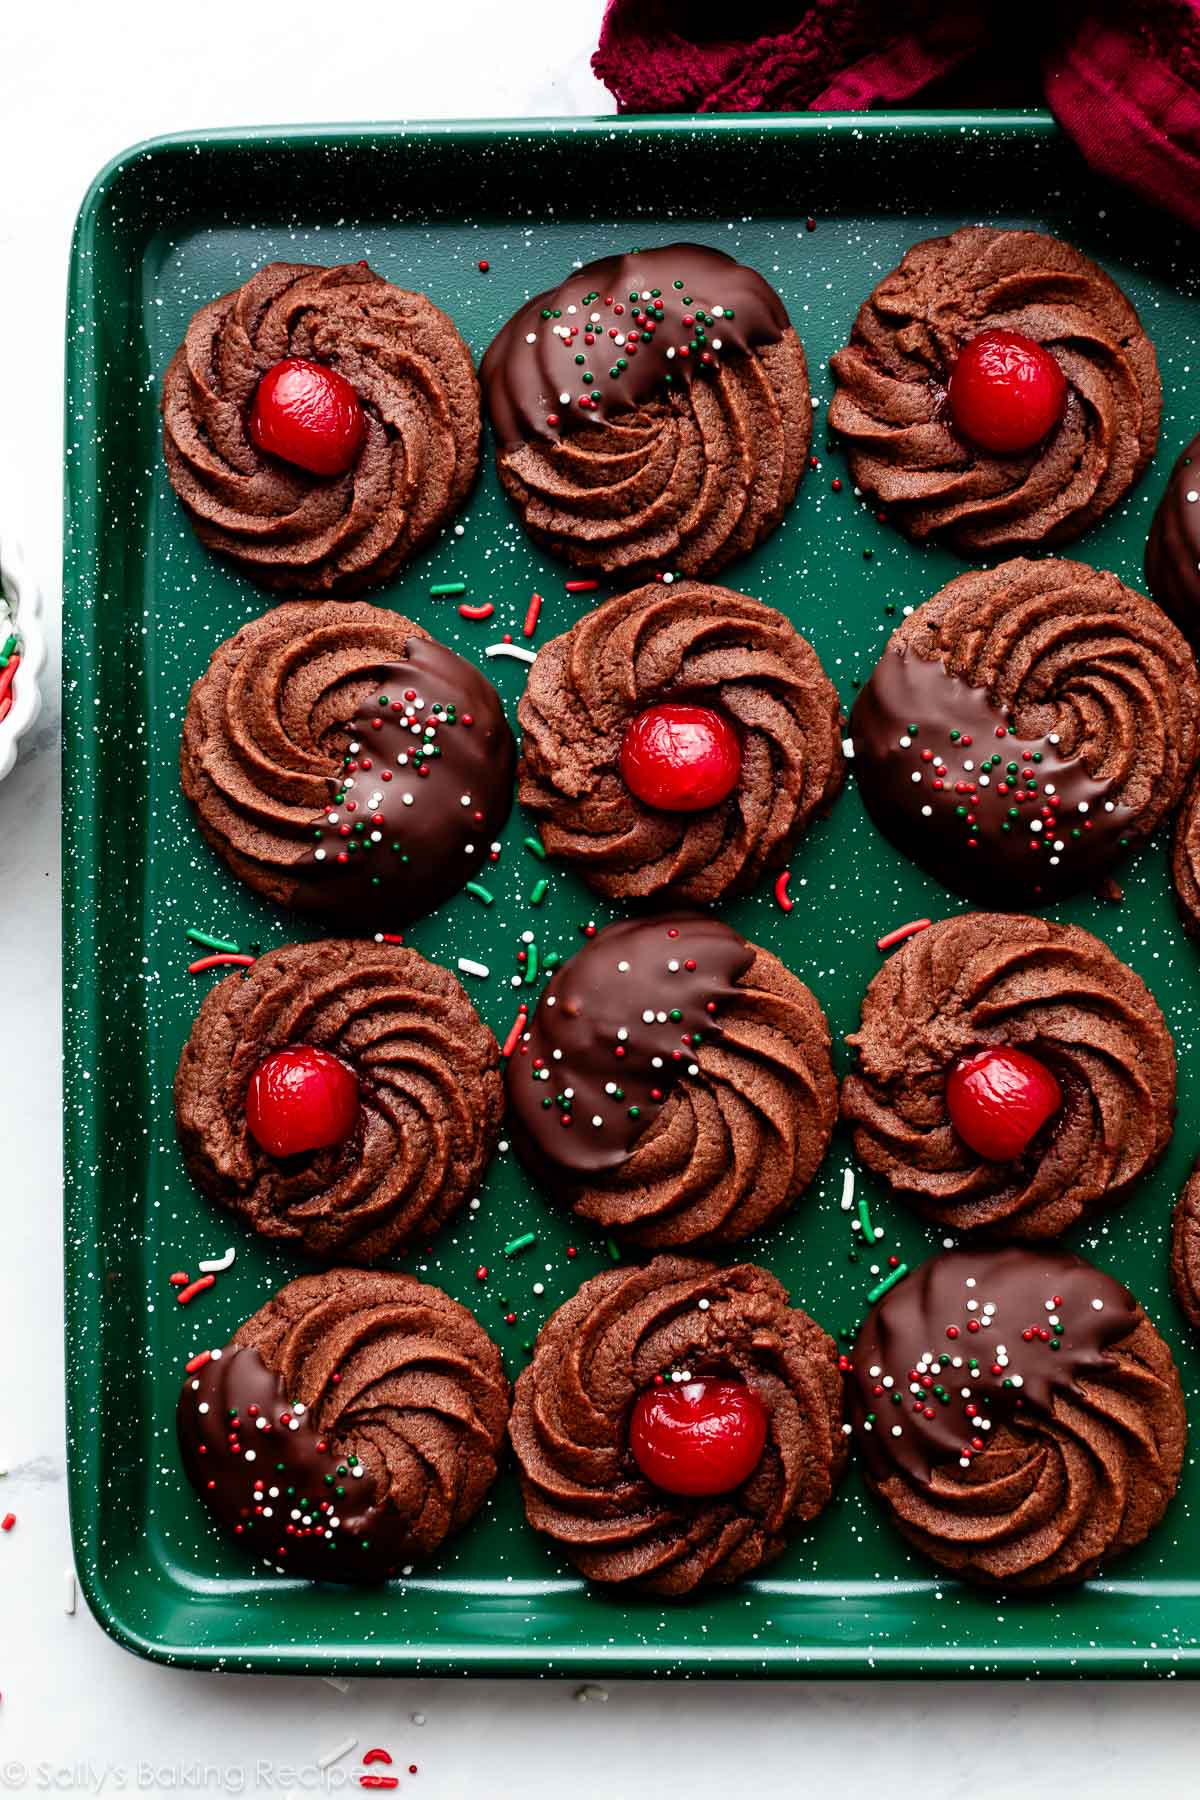
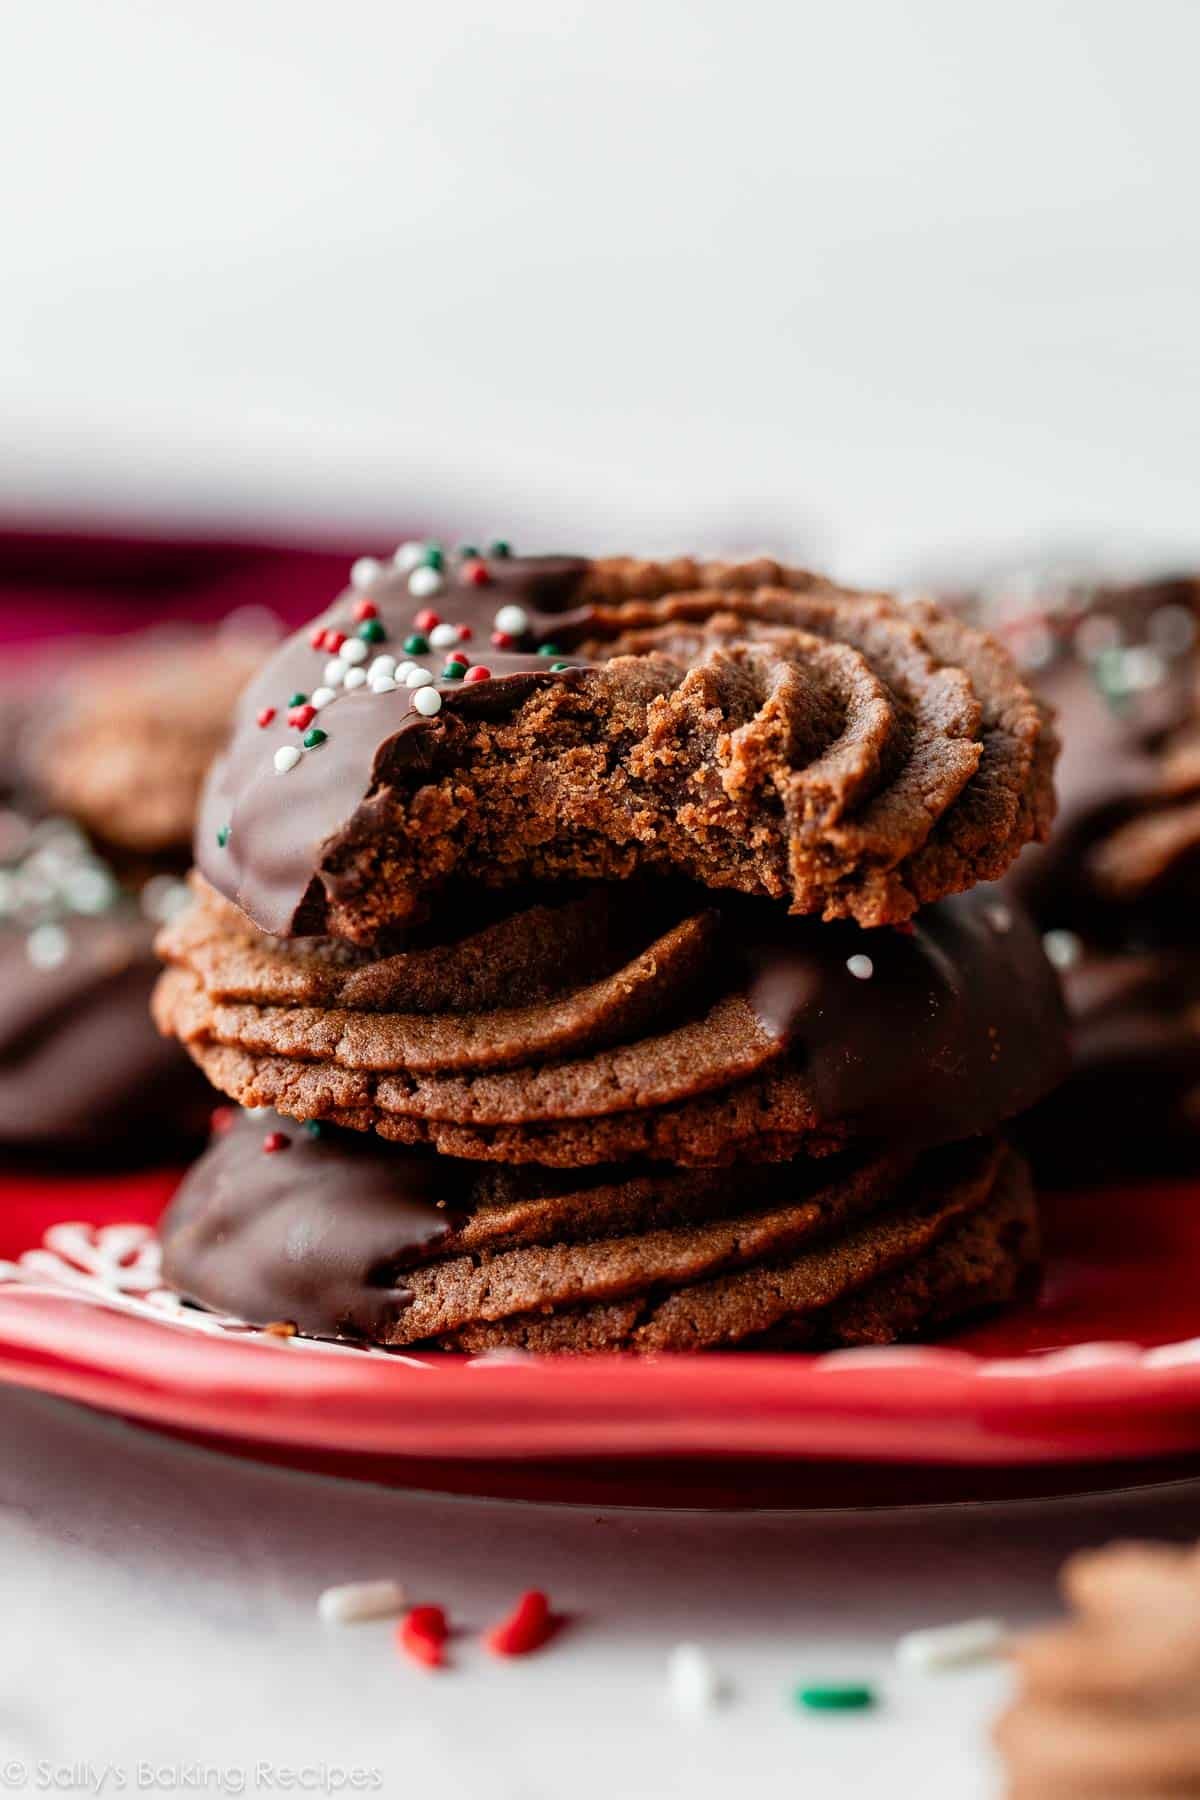
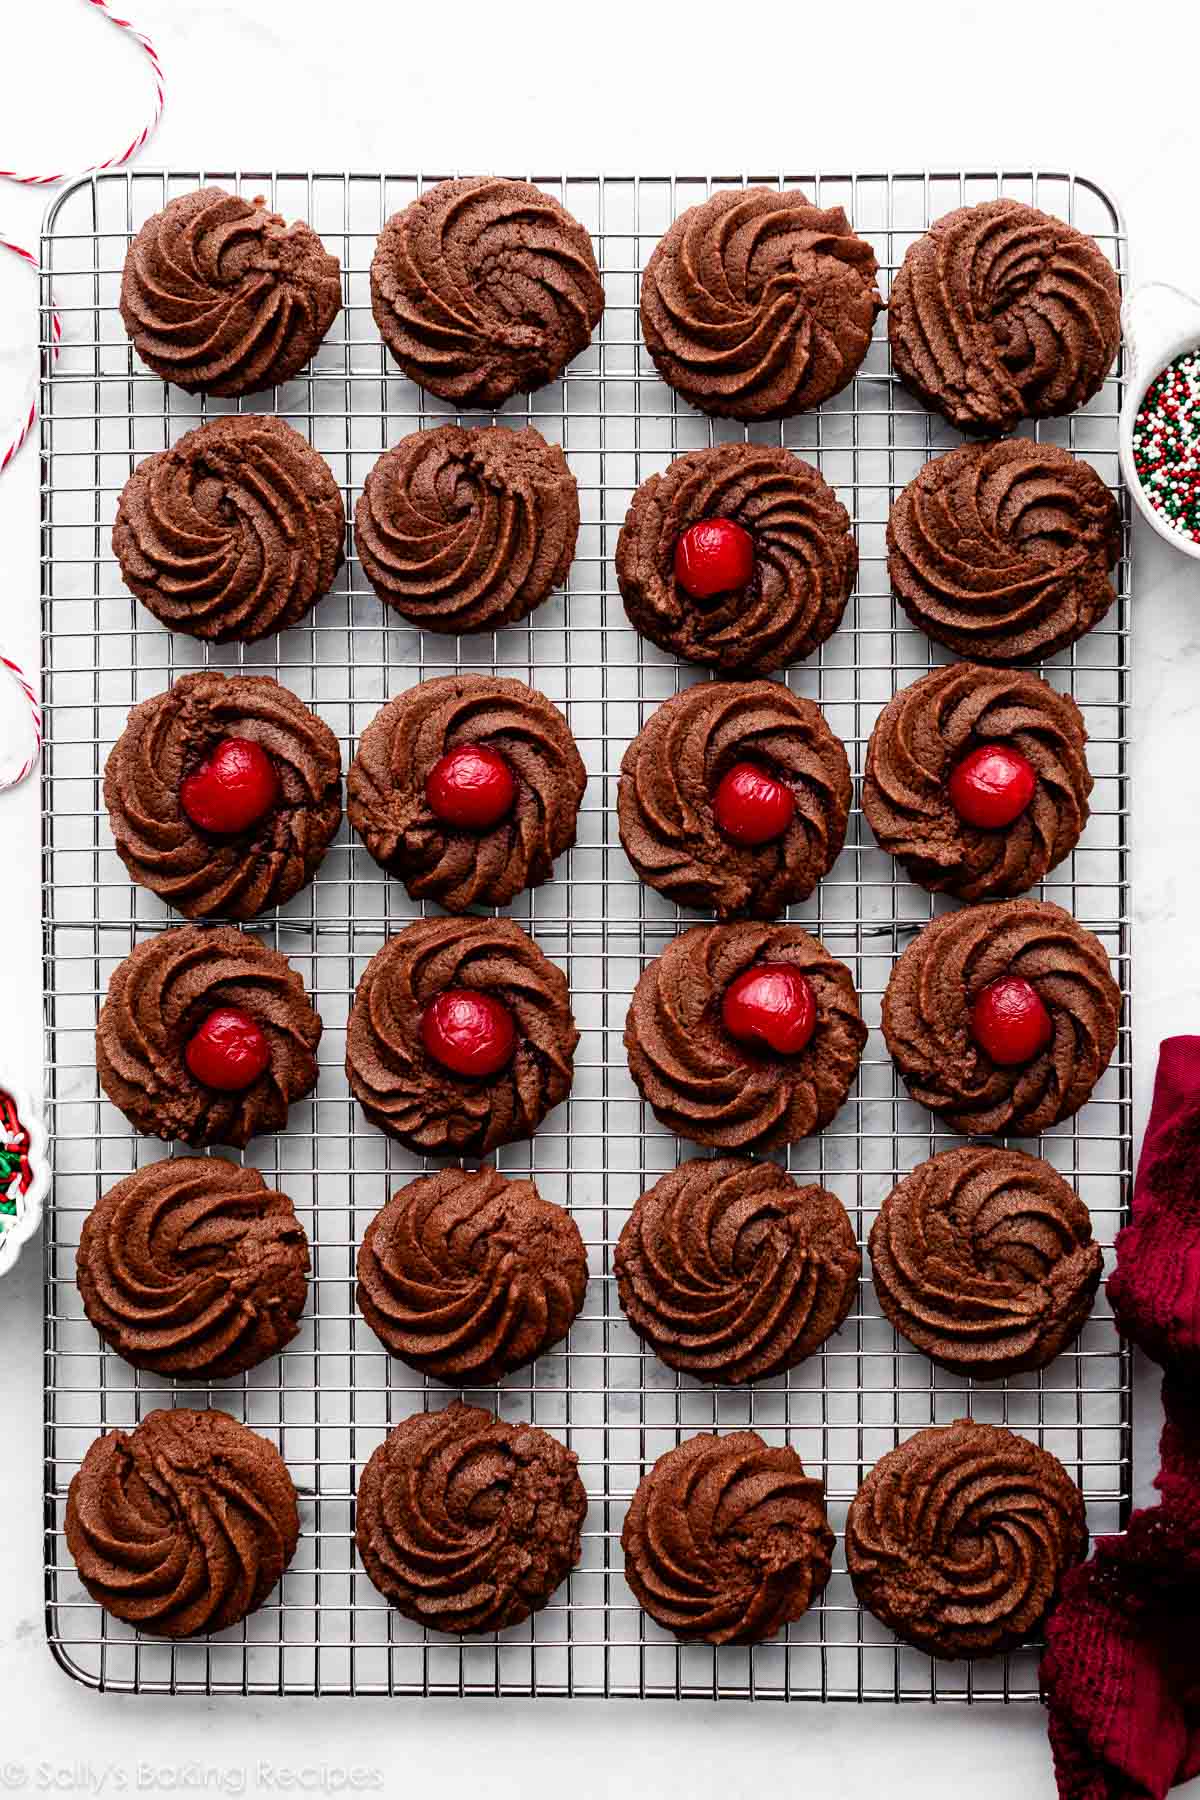
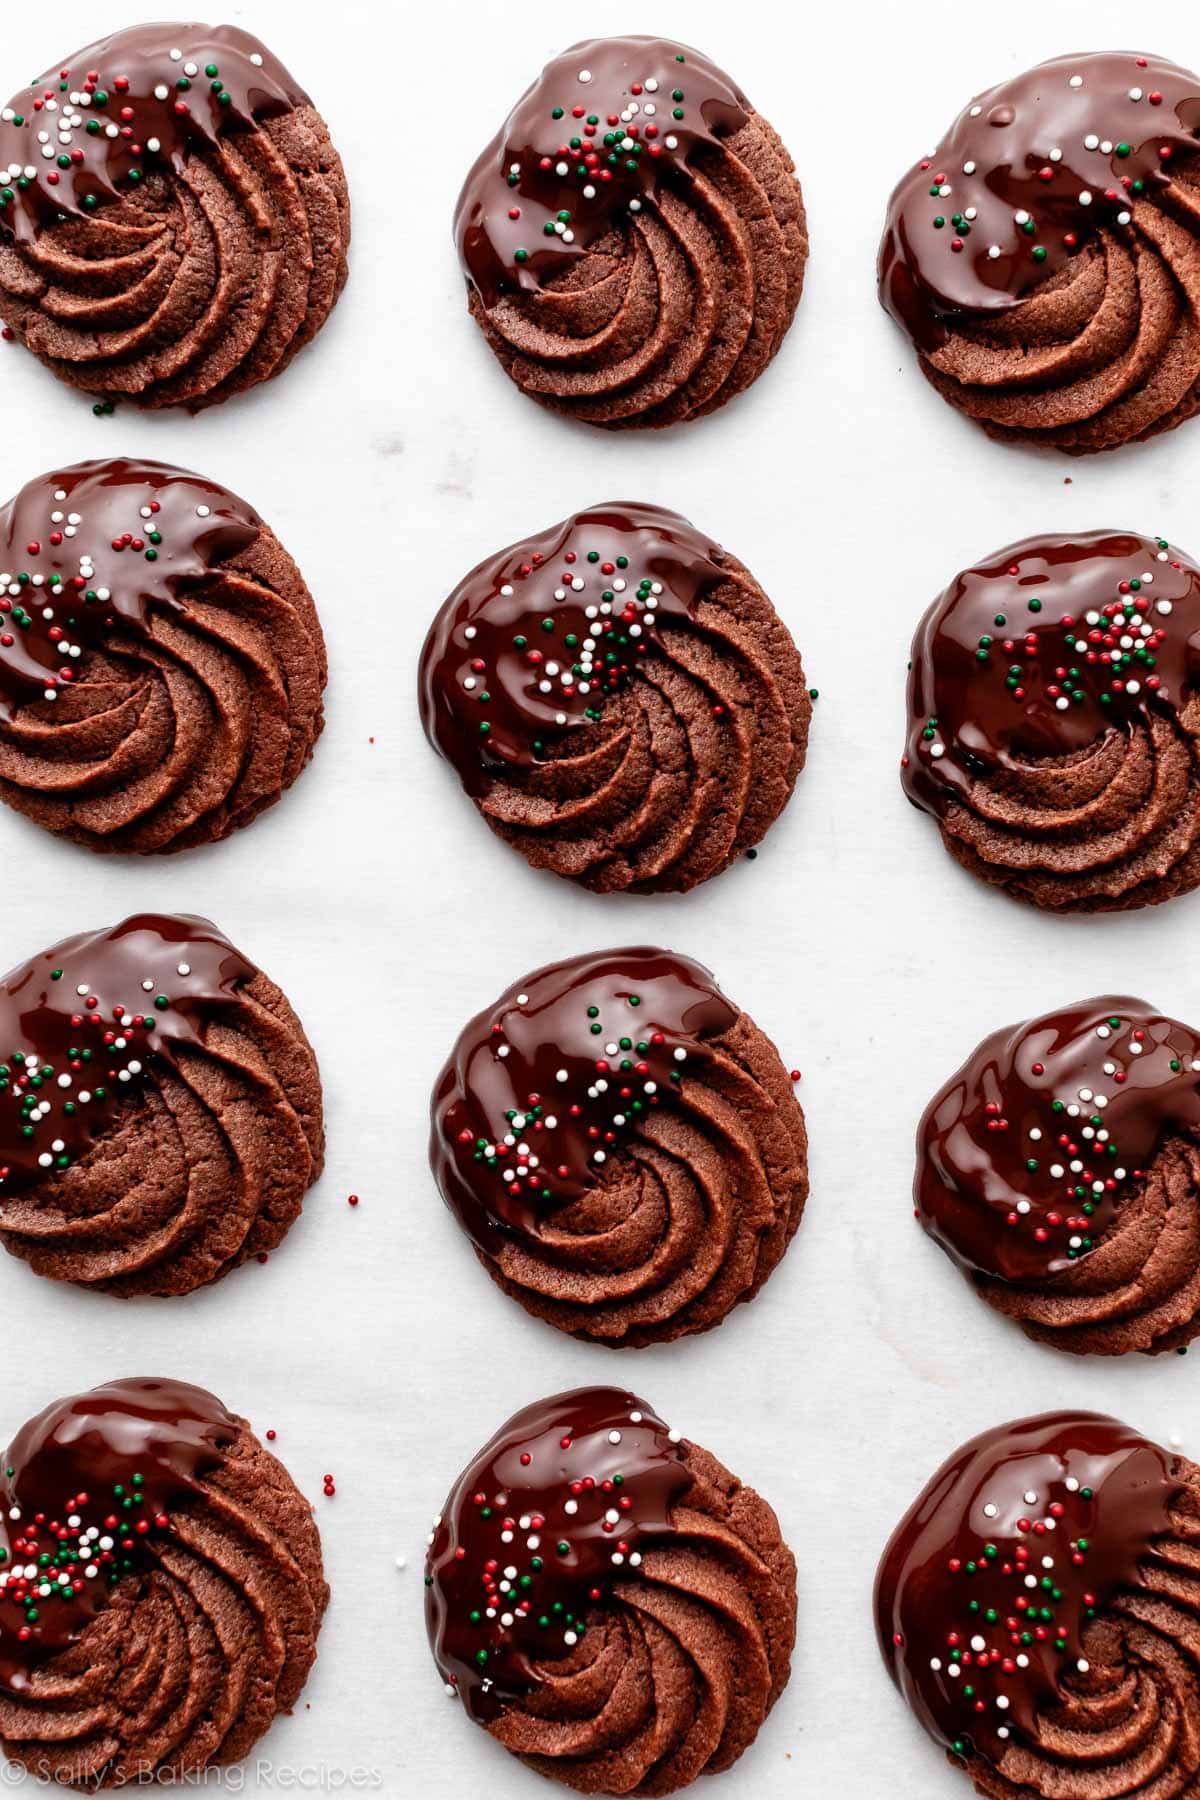
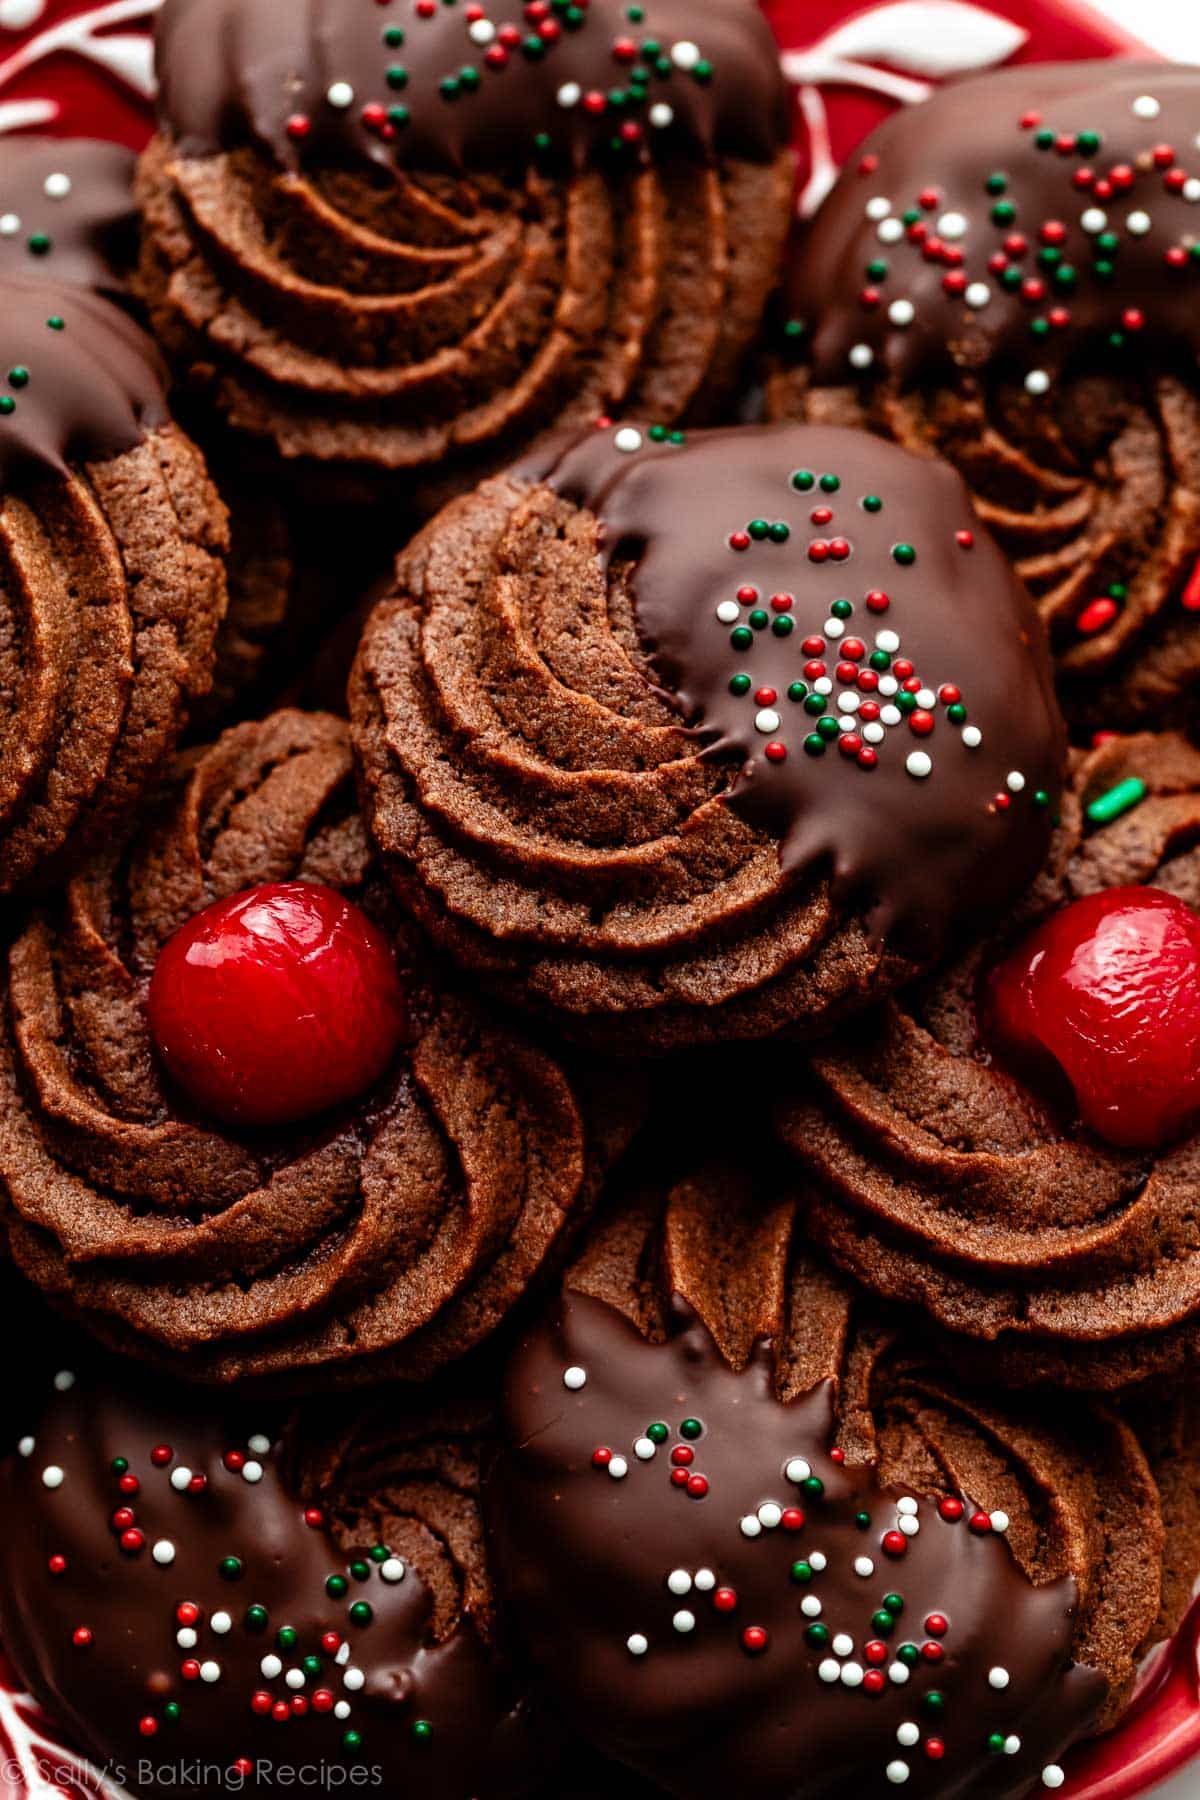
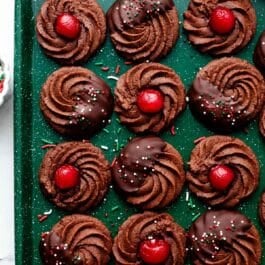
These chocolate butter cookies are the cocoa-kissed version of my classic homemade butter cookies. They’re every bit as soft and buttery, and absolutely melt in your mouth. Use a large piping tip to pipe the dough into swirly designs. They’re delicious and beautiful plain, but feel free to jazz them up with sprinkles, a dip in melted chocolate, or a cherry in the center for a festive touch!
Like a good superhero movie, you don’t have to know much about the original butter cookies recipe to enjoy this standalone sequel: chocolate butter cookies. 😉 This darker (but not in a villainous way!) version is just as buttery and melt-in-your-mouth soft, but with the addition of incredible chocolate flavor.
These Chocolate Butter Cookies Are:
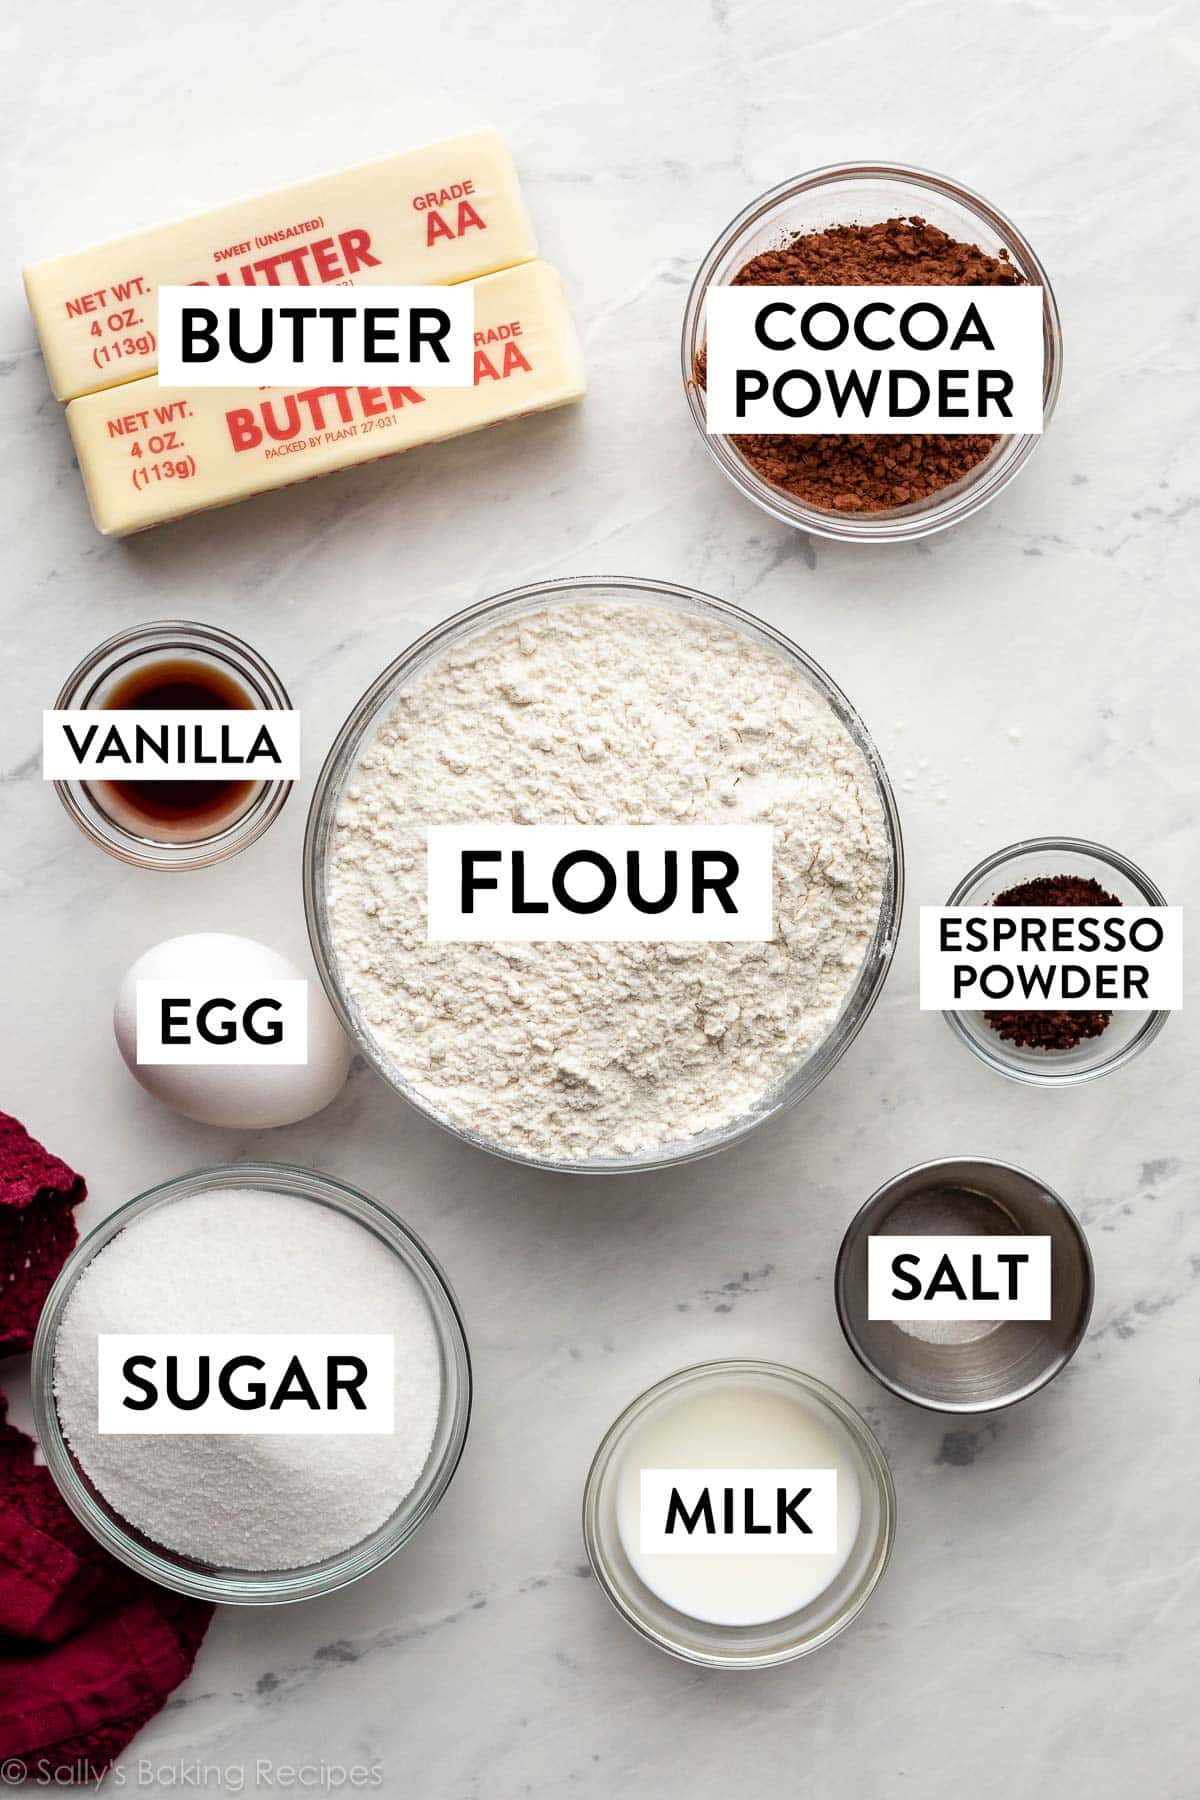
This cookie dough comes together easily with only 9 ingredients. You need an electric mixer for the dough, plus a piping bag and large piping tip (I use this one) to pipe the cookie dough.
Ingredients in Chocolate Butter Cookies
This is a 1-bowl cookie recipe. The dough is similar to my spritz cookies, but with a little milk to make it pipe-able.
- Butter: Can’t make chocolate butter cookies without it! Make sure it’s properly softened to room temperature before beginning.
- Sugar: Like many cookie recipes including these shortbread cookies, creamed butter and sugar is the base of today’s dough.
- Egg: 1 egg adds structure and binds everything together.
- Vanilla Extract: Even chocolate needs vanilla!
- All-Purpose Flour: All-purpose flour provides the structure.
- Cocoa Powder: Our *Dark Knight* hero that turns butter cookies into chocolate butter cookies. Because there’s no leavening occurring in these cookies, you can use either natural OR Dutch-process cocoa powder here. (Read more about the difference here.)
- Salt: By offsetting the sugar, salt adds flavor.
- Milk: We need just enough milk (any kind) to slightly thin out this cookie dough so it can squeeze through the piping tip. You’ll warm up the milk and dissolve the espresso powder in it before adding the mixture to the dough.
- Espresso Powder: This is the same magic ingredient we use for chocolate cake. The cookies don’t taste like coffee; rather, the espresso powder enhances the chocolate flavor.
FAQ: Should I Line the Cookie Sheet? Some swear by using an unlined, bare baking sheet to bake butter cookies, but I’ve tested these chocolate butter cookies both with and without lining, and there was no noticeable difference. (I use silicone baking mats for all my cookies and these are no different.) If you choose not to line the pan, don’t grease it either. The cookies will spread, as all cookies do, but they should maintain some of their piped shape.
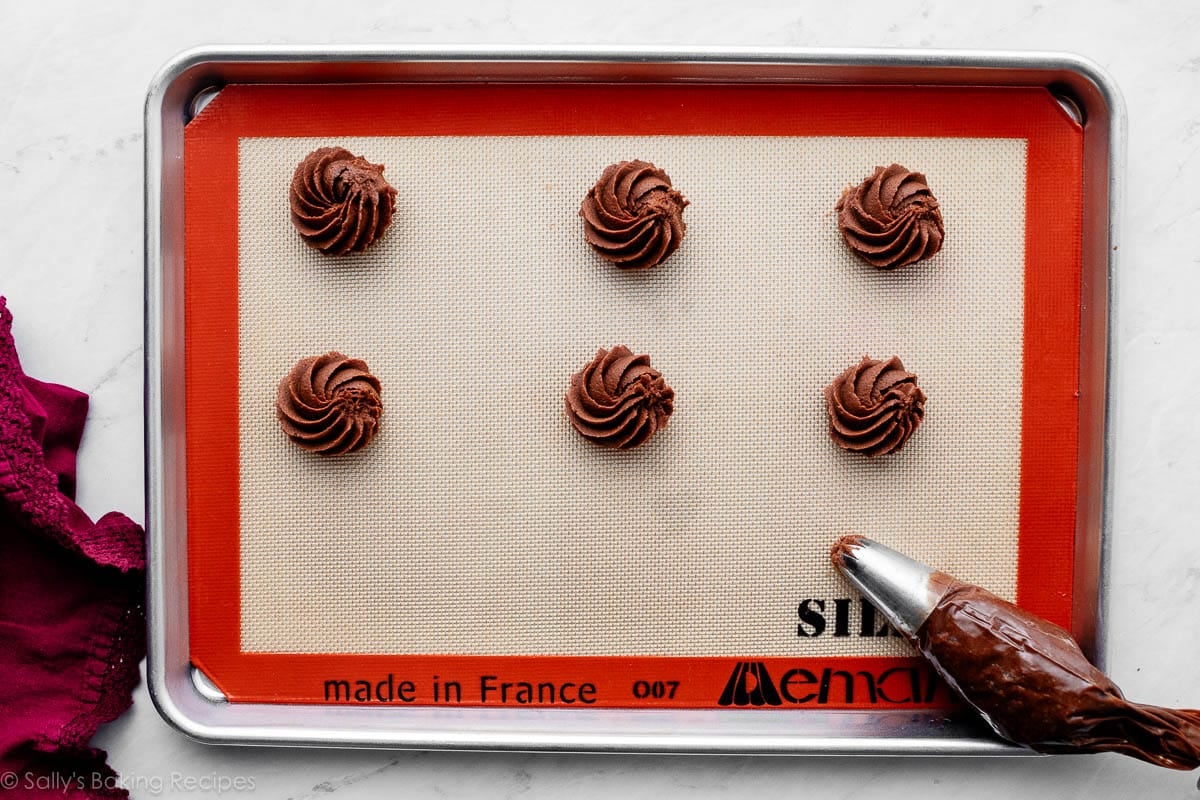
How to Pipe Butter Cookies
I find it’s easiest to stick with simple designs like a swirl, or even just a line.
SUCCESS TIP: The dough is very thick and stiff, so the first few cookies you pipe will be the hardest. Don’t give up! It gets easier as you go along, as you handle the piping bag and the dough becomes more malleable.
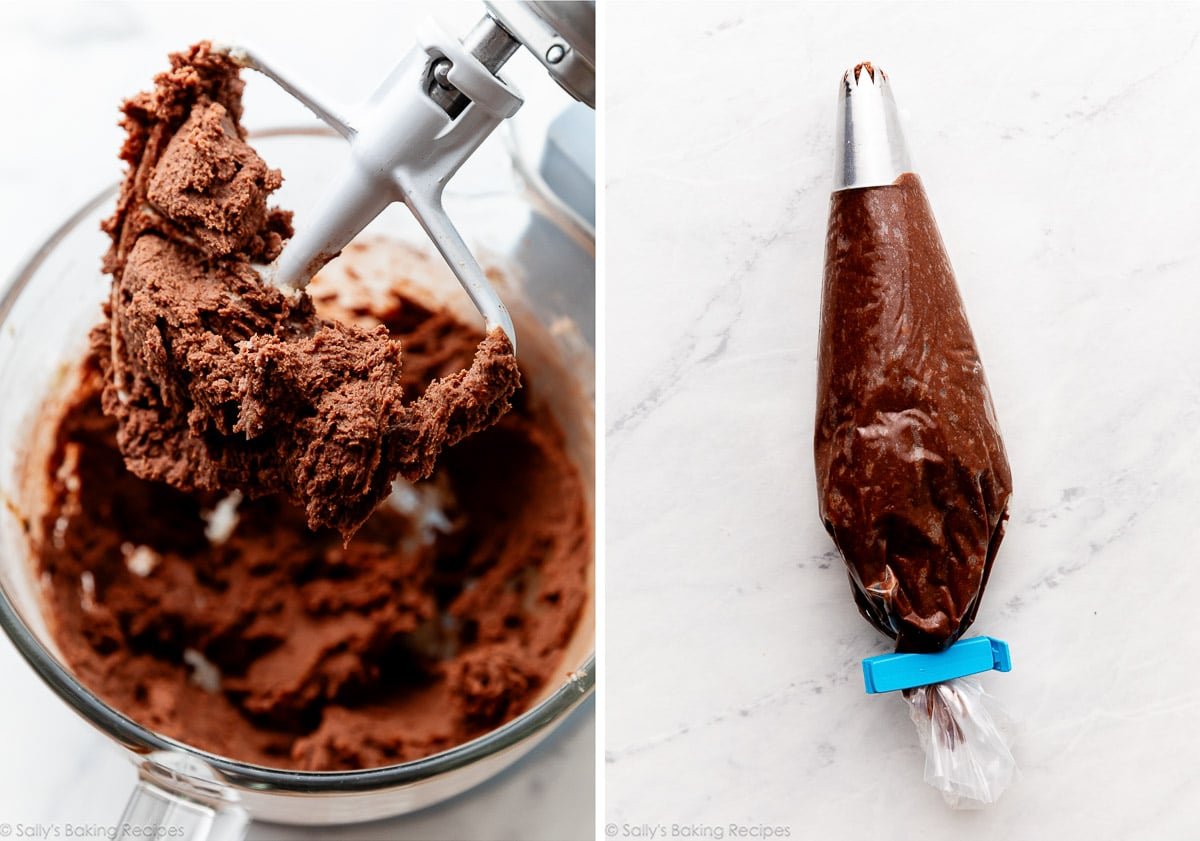
SUCCESS TIP: Start small. Begin by placing just a little bit of dough in the piping bag so you can determine if it’s creamy enough to pipe. If it’s too thick, it’s impossible to pipe, and you’ll have to put the dough back in the bowl and add a little more milk. Doing a test with a small amount of dough is a lot easier than filling the whole piping bag and then having to transfer it all back out again!
Best Piping Tips to Use
The cookie dough is thick, so it’s imperative to use a large piping tip with about a 1/2-inch opening. (That’s big!) The smaller the size, the harder it will be to pipe. I highly recommend an open star piping tip, but I actually use Ateco 849 which is a closed star tip. The opening is so large that it still works wonderfully!
Here are some options:
The popular Wilton 1M works too, but you may need to add more milk to the cookie dough to thin it out because this piping tip is smaller. Remember, the more milk you add, the longer you need to chill the shaped cookies, or else they will over-spread in the oven.
Don’t forget your piping bags, too! (Disposable or Reusable)
By the way, these piping tips and a set of bags would be a great holiday gift for any baker. I always include them in my Holiday Baking Gift Guide!
Another Success Tip: Chill the Shaped Cookies Before Baking
Whatever design you pipe, I highly recommend chilling the piped cookies on the baking sheet for an hour before baking. Without this chill time, the cookies will lose their piped shape. We need the dough to be soft enough to pipe, but then that soft dough would spread way too much in the oven, so we need to chill the cookies before baking to firm them up a bit.
I promise it’s worth it.
Refrigerate the shaped cookies for at least 1 hour, and up to 1 day. (If chilling for longer than 1 hour, cover them.) If you need to speed things along, you can start chilling them in the refrigerator for 20 minutes; at that point they will be solid enough that you can pick them up and transfer them to a smaller plate (if freezer space is an issue) and freeze them for another 20–30 minutes.
Some Decorating Options
- Sprinkle with coarse sugar or festive sprinkles before baking.
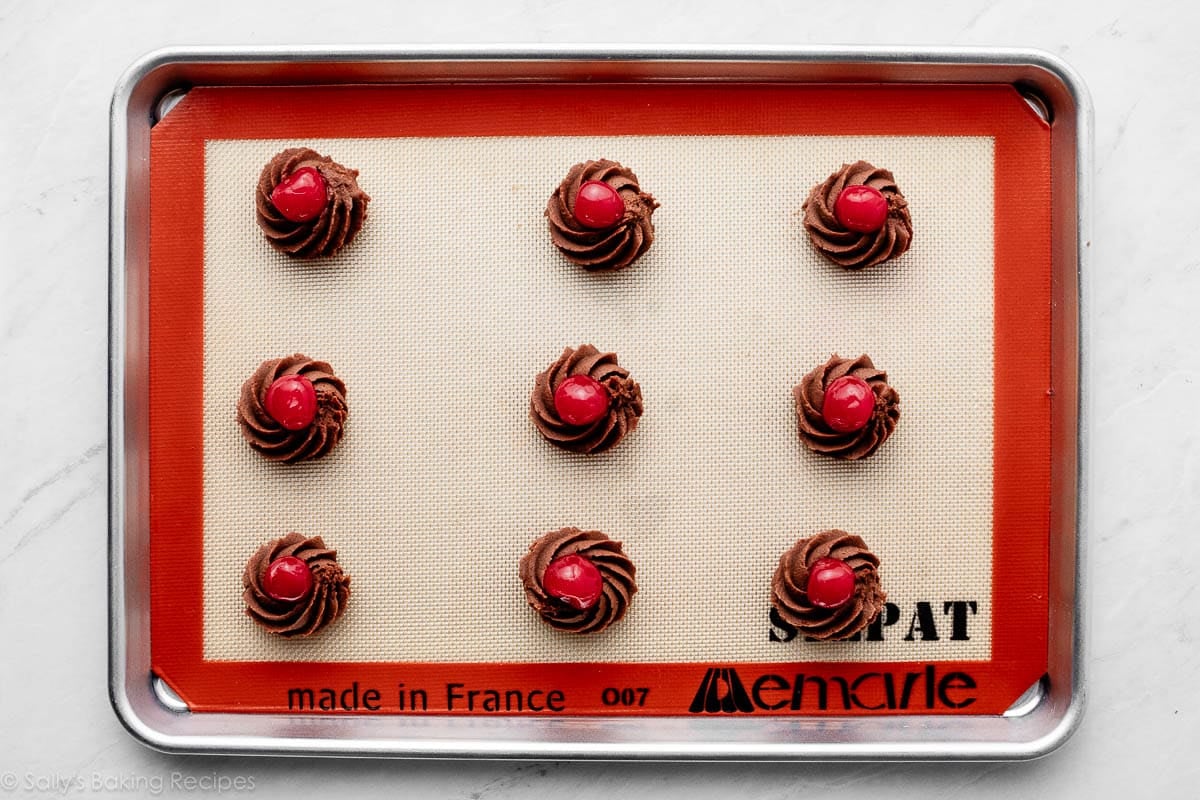
- Place a maraschino cherry in the center of each cookie before baking.
- Dollop 1/2 teaspoon raspberry (or other flavor) jam into very center before baking.
- Dip cooled cookies in melted chocolate, add sprinkles, and let set.
- Dip cooled cookies in melted white chocolate, add crushed candy canes, and let set.
The refrigerator will help set the chocolate dip quickly.
Sally’s Cookie Palooza
This recipe is part of my annual cookie countdown called Sally’s Cookie Palooza. It’s the biggest, most delicious event of the year! Browse dozens of cookie recipes over on the Sally’s Cookie Palooza page including:
and here are 75+ Christmas cookies with all my best success guides & tips.
Piped Chocolate Butter Cookies
Prep Time: 30 minutes
Cook Time: 14 minutes
Total Time: 1 hour, 15 minutes
Yield: 30 cookies
Category: Desserts
Method: Baking
Cuisine: American
Description
Using just 9 basic ingredients and a large piping tip, make these melt-in-your-mouth chocolate butter cookies. There’s no leavening, so the texture is similar to shortbread cookies. Review recipe Notes before beginning, and I strongly recommend chilling the piped cookies for at least 20–30 minutes before baking.
Instructions
- Read through the recipe and recipe Notes before beginning. Make room in your refrigerator for a baking sheet so the shaped cookies can chill for 20–30 minutes. Without chilling, the piped cookies will overspread. If you chill the dough prior to shaping, the dough will be too cold/stiff to pipe.
- Line 2–3 large baking sheets with parchment paper or silicone baking mats, or leave unlined. If unlined, do not grease the pan.
- In a large bowl, using a handheld mixer or a stand mixer fitted with a paddle attachment, beat the butter on medium-high speed until very soft and creamy, about 2 minutes. Add granulated sugar to the butter, and beat together on medium-high speed until smooth and creamed, another 2 minutes. Add the egg and vanilla, and beat on high speed until combined, about 1 minute. Scrape down the sides and up the bottom of the bowl and beat again as needed to combine.
- On low speed, beat in the flour, cocoa powder, and salt. Turn up to high speed and beat until completely combined.
- Warm the milk to about 150°F (66°C)—about 20 seconds in the microwave—then mix in the espresso powder until it dissolves. Add the warm espresso-milk mixture to the dough, and beat on medium speed. You want a dough that’s creamy and pipe-able (but still thick), so you may need another 1/2 Tablespoon of milk. (Tip: The more milk you add, the more the cookies will spread, so chilling in step 7 is imperative. I recommend keeping the amount of milk small and using a large enough piping tip, like the ones I suggest in the post above.)
- Add your large piping tip to the piping bag. Spoon a little bit of dough into the piping bag and pipe a 1–2-inch swirl or line on the prepared baking sheet. The reason I suggest only a little bit of dough to start is because the dough may still be too thick to pipe. If it’s too thick, transfer that dough back to the mixing bowl and add another 1/2 Tablespoon of milk. If the dough is creamy enough to pipe, continue piping the dough in 1–2-inch swirls or lines, 3 inches apart on the baking sheet. If desired, place a maraschino cherry in the center of the swirl or sprinkle the dough with sprinkles and/or coarse sugar. (Tip: Since the dough is very thick and stiff, so the first few cookies you pipe will be the hardest. Don’t give up! It gets easier as you go along, as you handle the piping bag and the dough becomes more malleable.)
- Transfer the baking sheet to the refrigerator and chill the shaped cookies for 20–30 minutes.
- Meanwhile, preheat oven to 350°F (177°C).
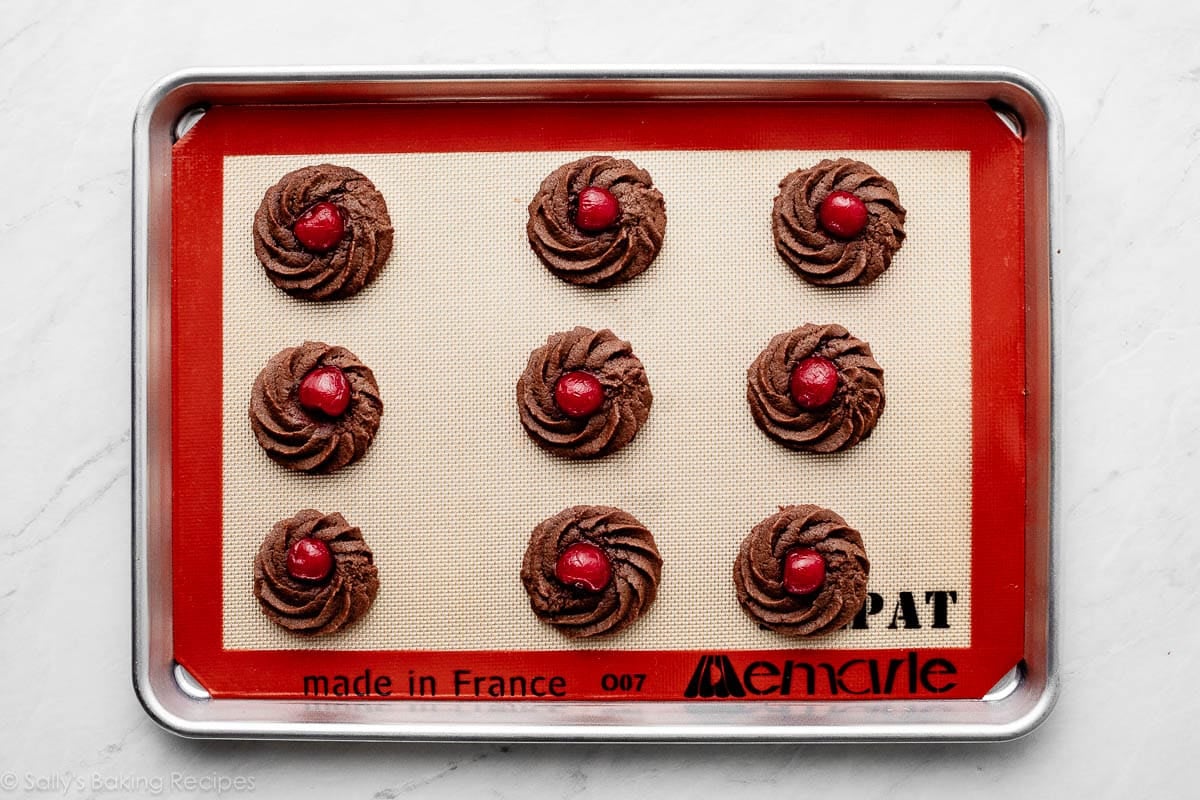
- Bake the chilled cookies for 12–15 minutes or until the edges seem set. The cookies will spread like all cookies do, but not completely lose their shape, especially if you refrigerated the shaped cookies. If the cookies are smaller, they will take closer to 12 minutes.
- Remove from the oven and allow to cool on the baking sheet for 5 minutes before transferring to a wire rack to cool completely.
- Optional Chocolate: You can melt the chocolate in a double boiler or the microwave. If using the microwave: place the chopped chocolate in a medium heatproof bowl. Melt in 20-second increments in the microwave, stirring after each increment until completely melted and smooth. Dip the cookies in chocolate and top with sprinkles, if desired. Allow the chocolate to set completely at room temperature for about 1 hour or in the refrigerator for 20 minutes.
- Plain cookies stay fresh in an airtight container at room temperature for up to 1 week. Cookies with chocolate or cherries stay fresh in an airtight container at room temperature for 4 days or in the refrigerator for up to 1 week.
Notes
- Make Ahead Instructions: You can chill the shaped cookies on the baking sheet in the refrigerator for up to 1 day before baking. If chilling for longer than 30 minutes, cover with plastic wrap or aluminum foil. Sometimes I pipe all the swirls close together on 1 baking sheet, then refrigerate. (Since my refrigerator can’t fit 2–3 baking sheets at once.) After chilling, the shaped dough is cold, so you can use a flat spatula to pick up the cold shaped dough and arrange on 2–3 baking sheets to bake. You can also freeze the un-baked shaped dough for up to 3 months. Bake the frozen shaped dough (no need to thaw) for an extra minute or two. Baked cookies, with or without chocolate/cherries/sprinkles, freeze well for up to 3 months.
- Special Tools (affiliate links): Baking Sheets | Silicone Baking Mats or Parchment Paper | Electric Mixer (Handheld or Stand) | Piping Bag (Reusable or Disposable) | Large Piping Tip (such as Ateco 849 (pictured), Wilton 8B, Ateco 826, or Ateco 827) | Cooling Rack | Double Boiler (optional for melting chocolate)
- Espresso Powder: This deepens the chocolate flavor—the cookies don’t taste like coffee. I usually find espresso powder in the grocery store baking aisle, or you can order it online. If you can’t find it, you can use instant coffee powder instead. Make sure to dissolve it in the warm milk before adding to the dough.
- No Piping Tip & Using a Cookie Press: This recipe is similar to my spritz cookies where I use a cookie press. If you don’t have a large piping tip and/or you want to use a cookie press, you can use this dough to make chocolate spritz cookies. Skip the milk, and add the espresso powder when you add the flour. If you don’t have a cookie press or large piping tip, snip a 1/2 inch corner off the end of a plastic bag and pipe lines/flat swirls.
- Optional Melted Chocolate: You can melt semi-sweet, dark, milk, or white chocolate to dip these cookies in. For the best results, use a pure “baking chocolate” bar, found in the baking aisle. I like Baker’s and Ghirardelli brands. Do not use chocolate chips, as they contain stabilizers preventing them from melting into the proper consistency. After you melt it, if the chocolate is too thick for dipping, stir in 1 teaspoon of vegetable/canola oil to help thin it out.
Keywords: chocolate butter cookies