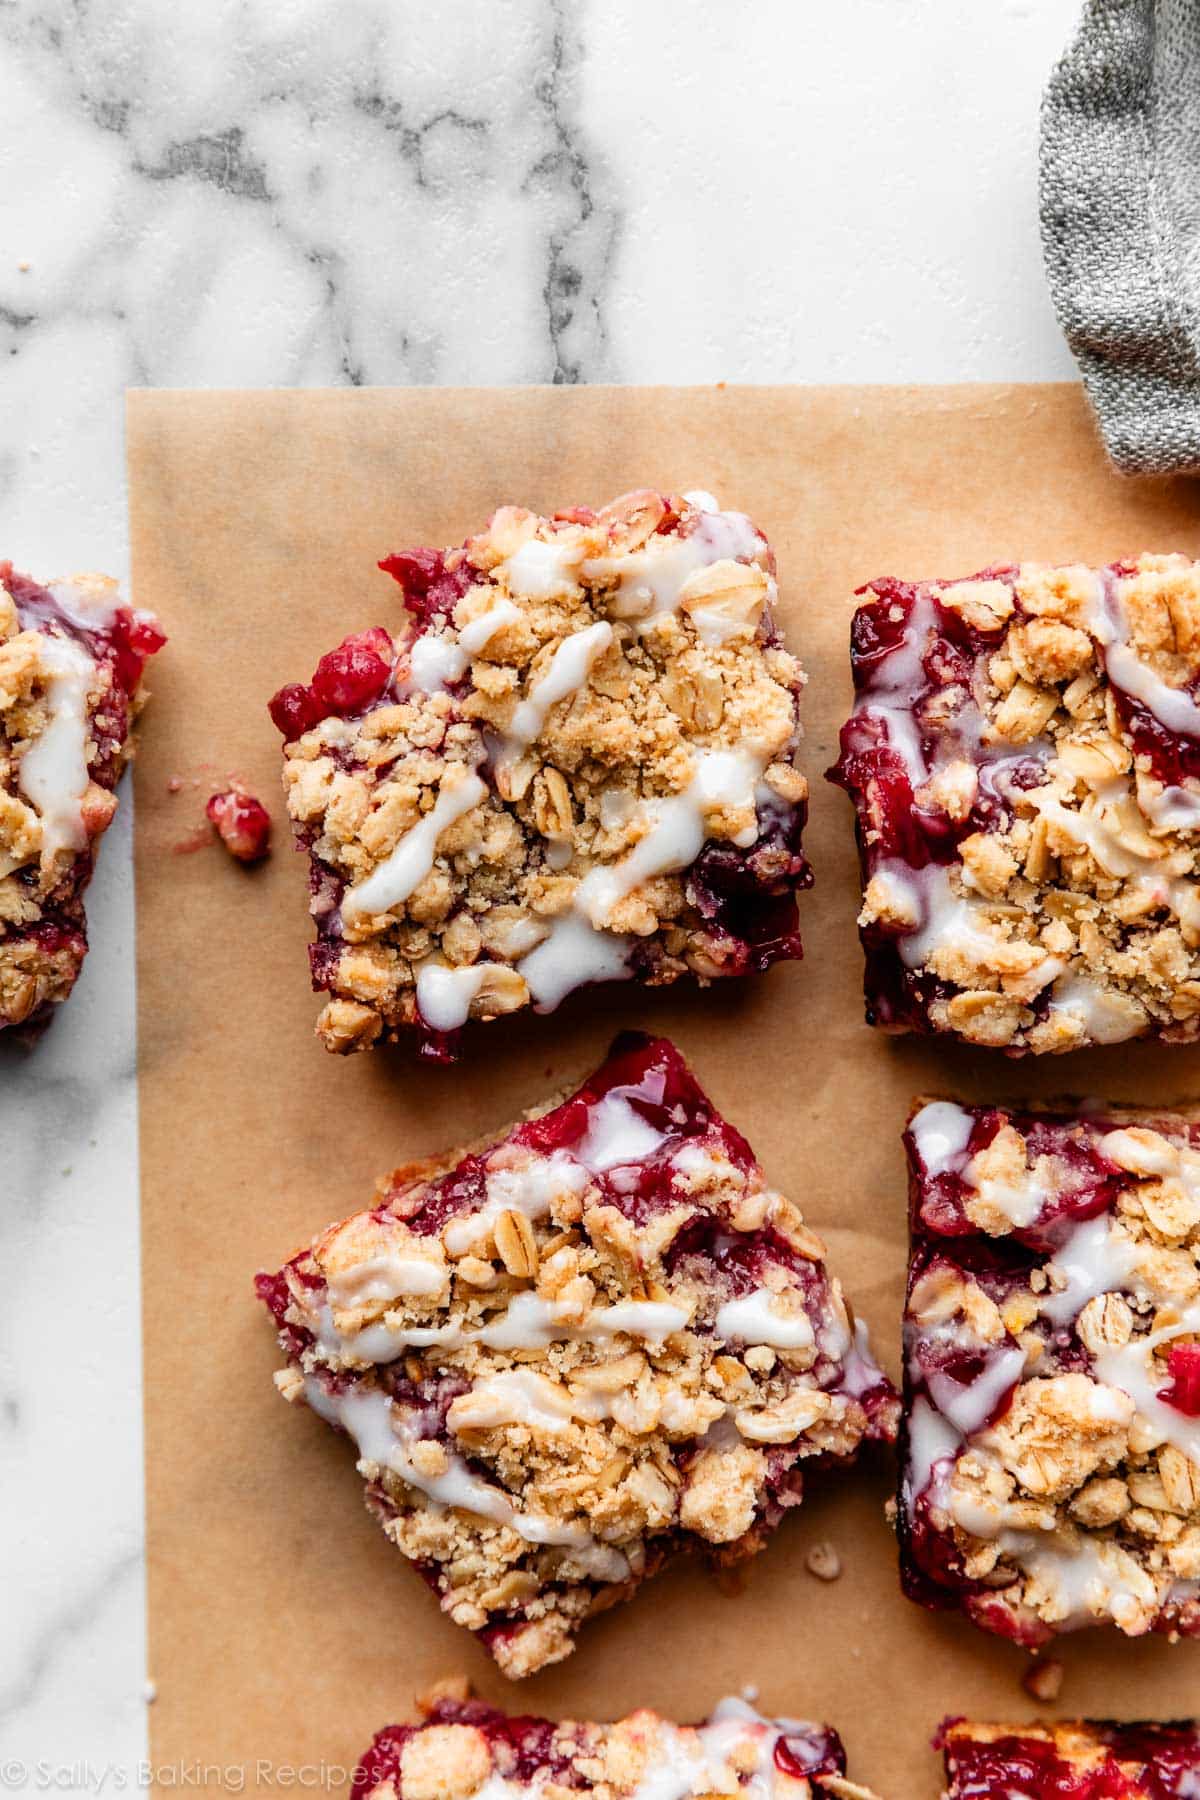
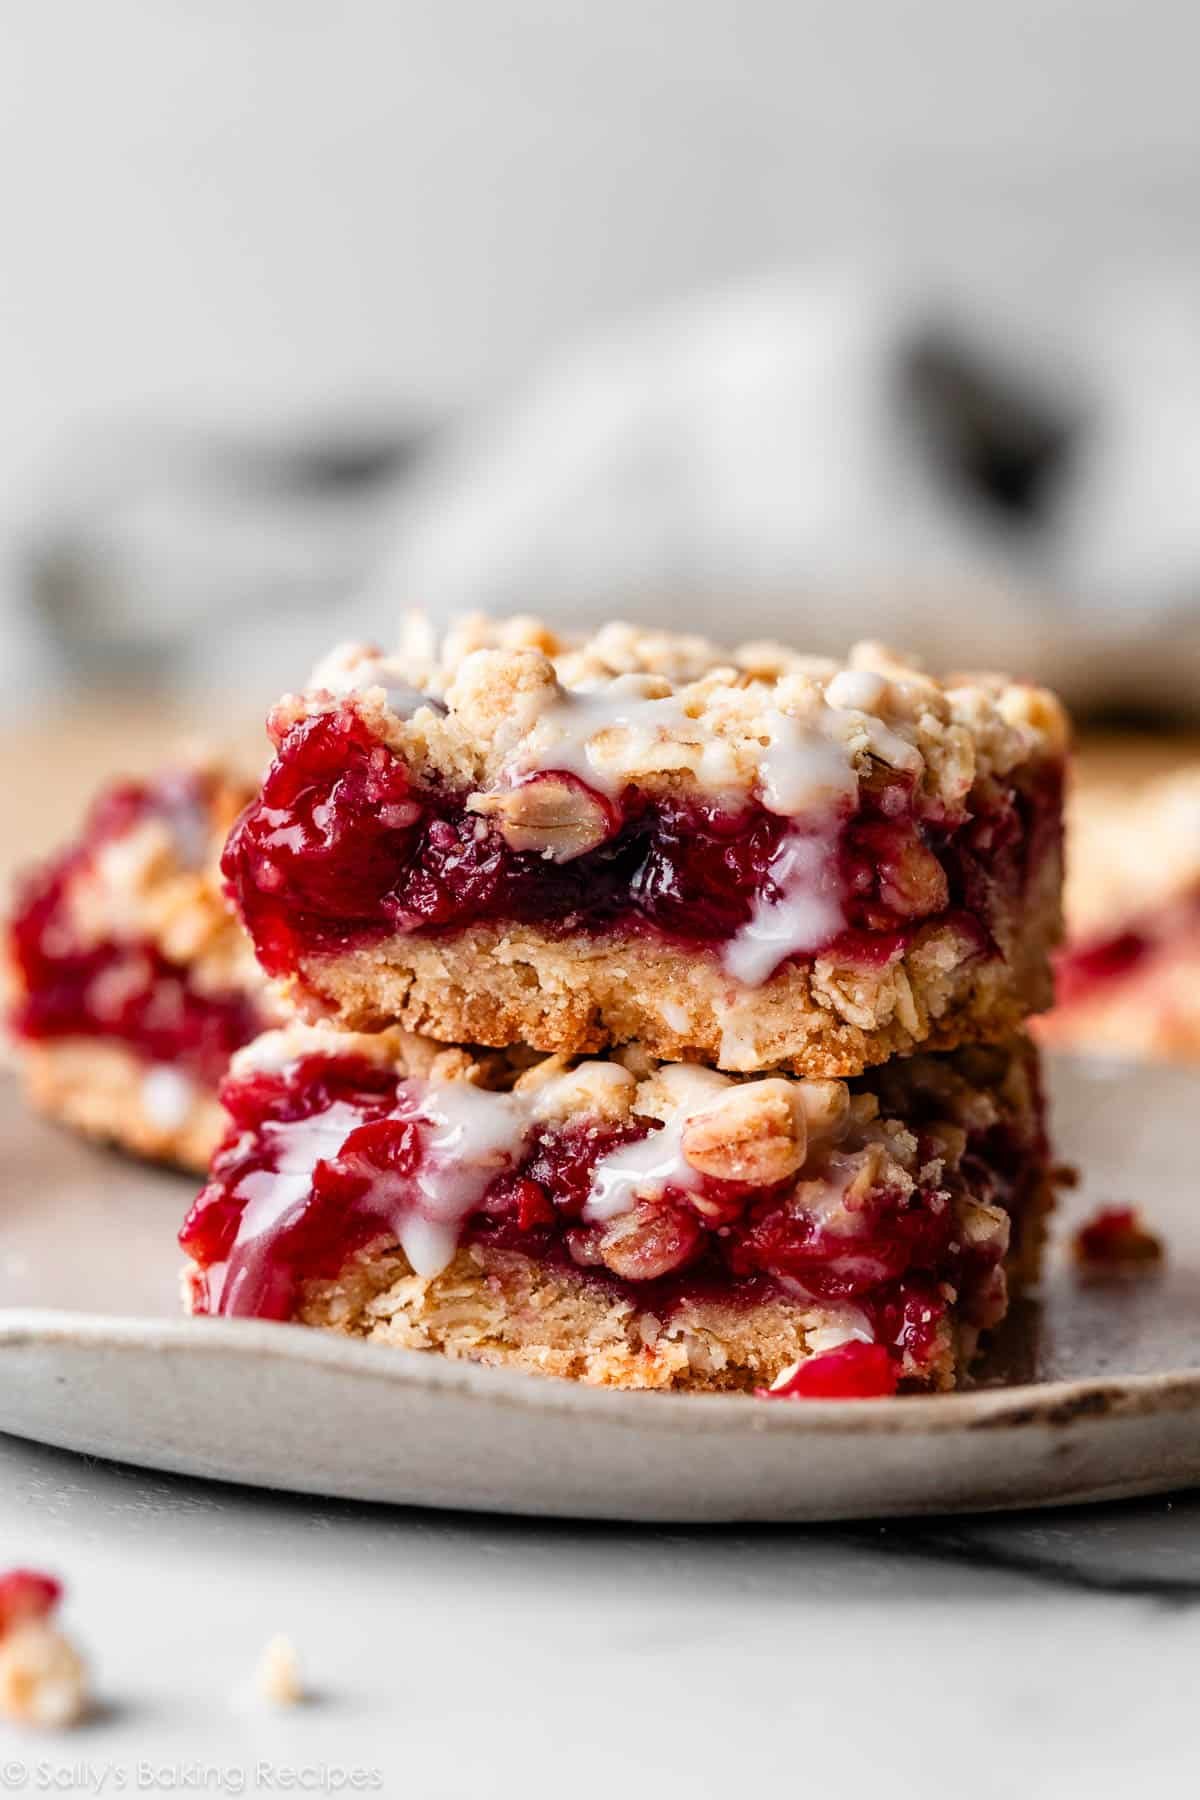
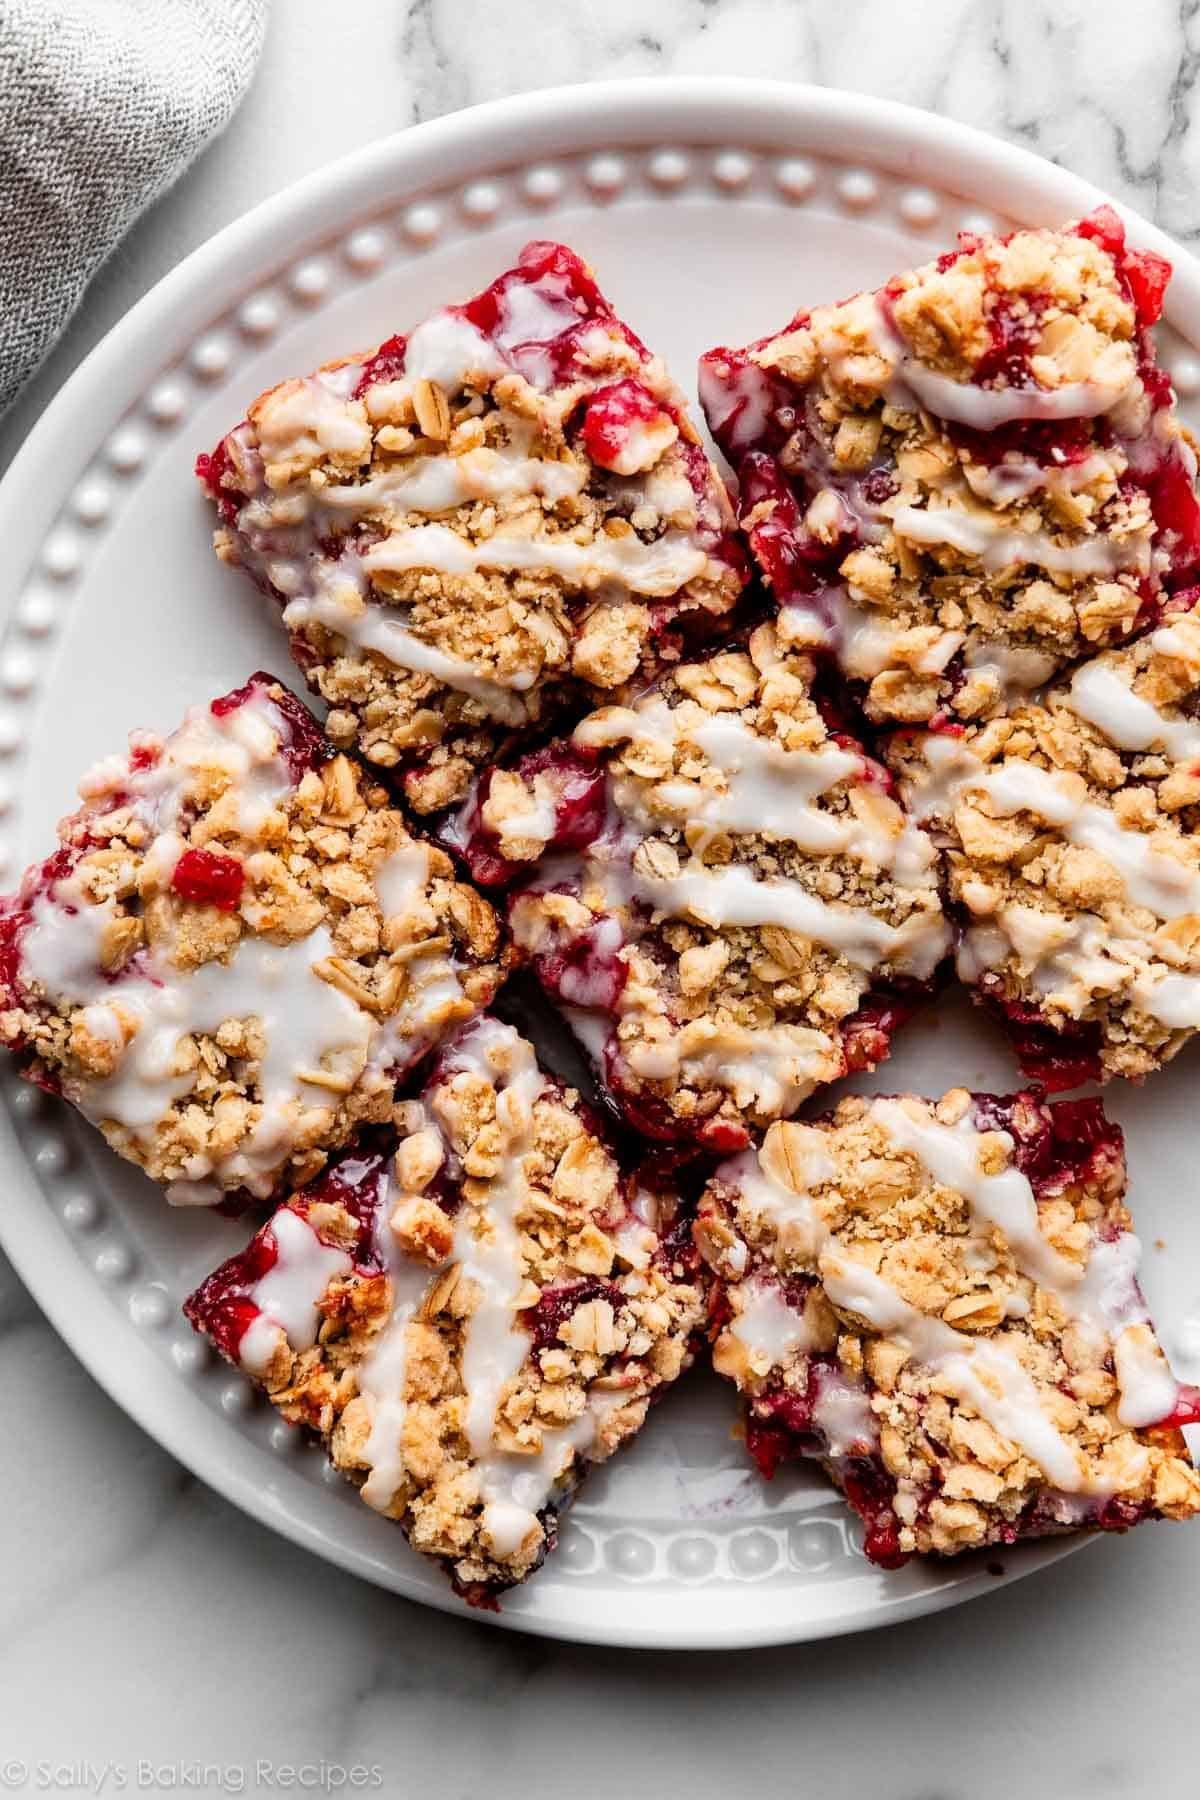
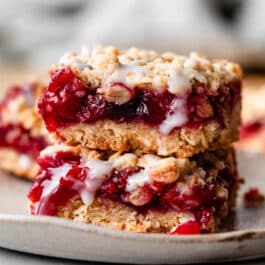
Featuring a sweet-tart cherry pie filling and a buttery, crumbly brown sugar streusel, there’s so much to love about these crumb-topped cherry pie bars. You’ll use frozen sour cherries in the filling, which comes together quickly on the stove. The crust and crumble topping are made from the same 1-bowl mixture. (There’s no messing with pie crust today!) A drizzle of almond icing is the perfect flavor-enhancing finishing touch.
Today we’re giving our standard round pie dish a rest and making pie bars. While I generally don’t mind putting in the time and effort to make a pie from scratch (it’s a labor of love!), pie bar recipes are definitely quicker and easier. And sometimes—OK, oftentimes—that’s very appealing!
It’s why I’ve created bar versions of some of the most popular pies on my site, such as pumpkin pie bars, salted caramel apple pie bars, and blueberry pie bars.
If you love cherry pie, but making pie crust from scratch intimidates you, this crumb-topped cherry pie bar recipe is the answer. You’ll still enjoy a jammy cherry filling, but with the welcome ease of making a single “dough” that becomes both crust and topping—no finicky pie crust chilling, rolling, or shaping.
Why You’ll Love Cherry Pie Bars
- Easier than pie—crust & topping made from the same 1-bowl mixture
- Juicy, jammy cherry pie filling, made from scratch
- Made with frozen sour cherries, available year round!
- Quicker than many fruit fillings—no pitting, peeling, or chopping the fruit
- Another egg-free baking recipe
- Sweet almond-flavored icing
- Easy to transport, slice, serve, and freeze!
While my classic cherry pie recipe uses fresh sweet cherries, these cherry pie bars use frozen sour cherries, so you don’t have to limit this recipe to when cherries are in season. But, if you have fresh, you can absolutely use them here!
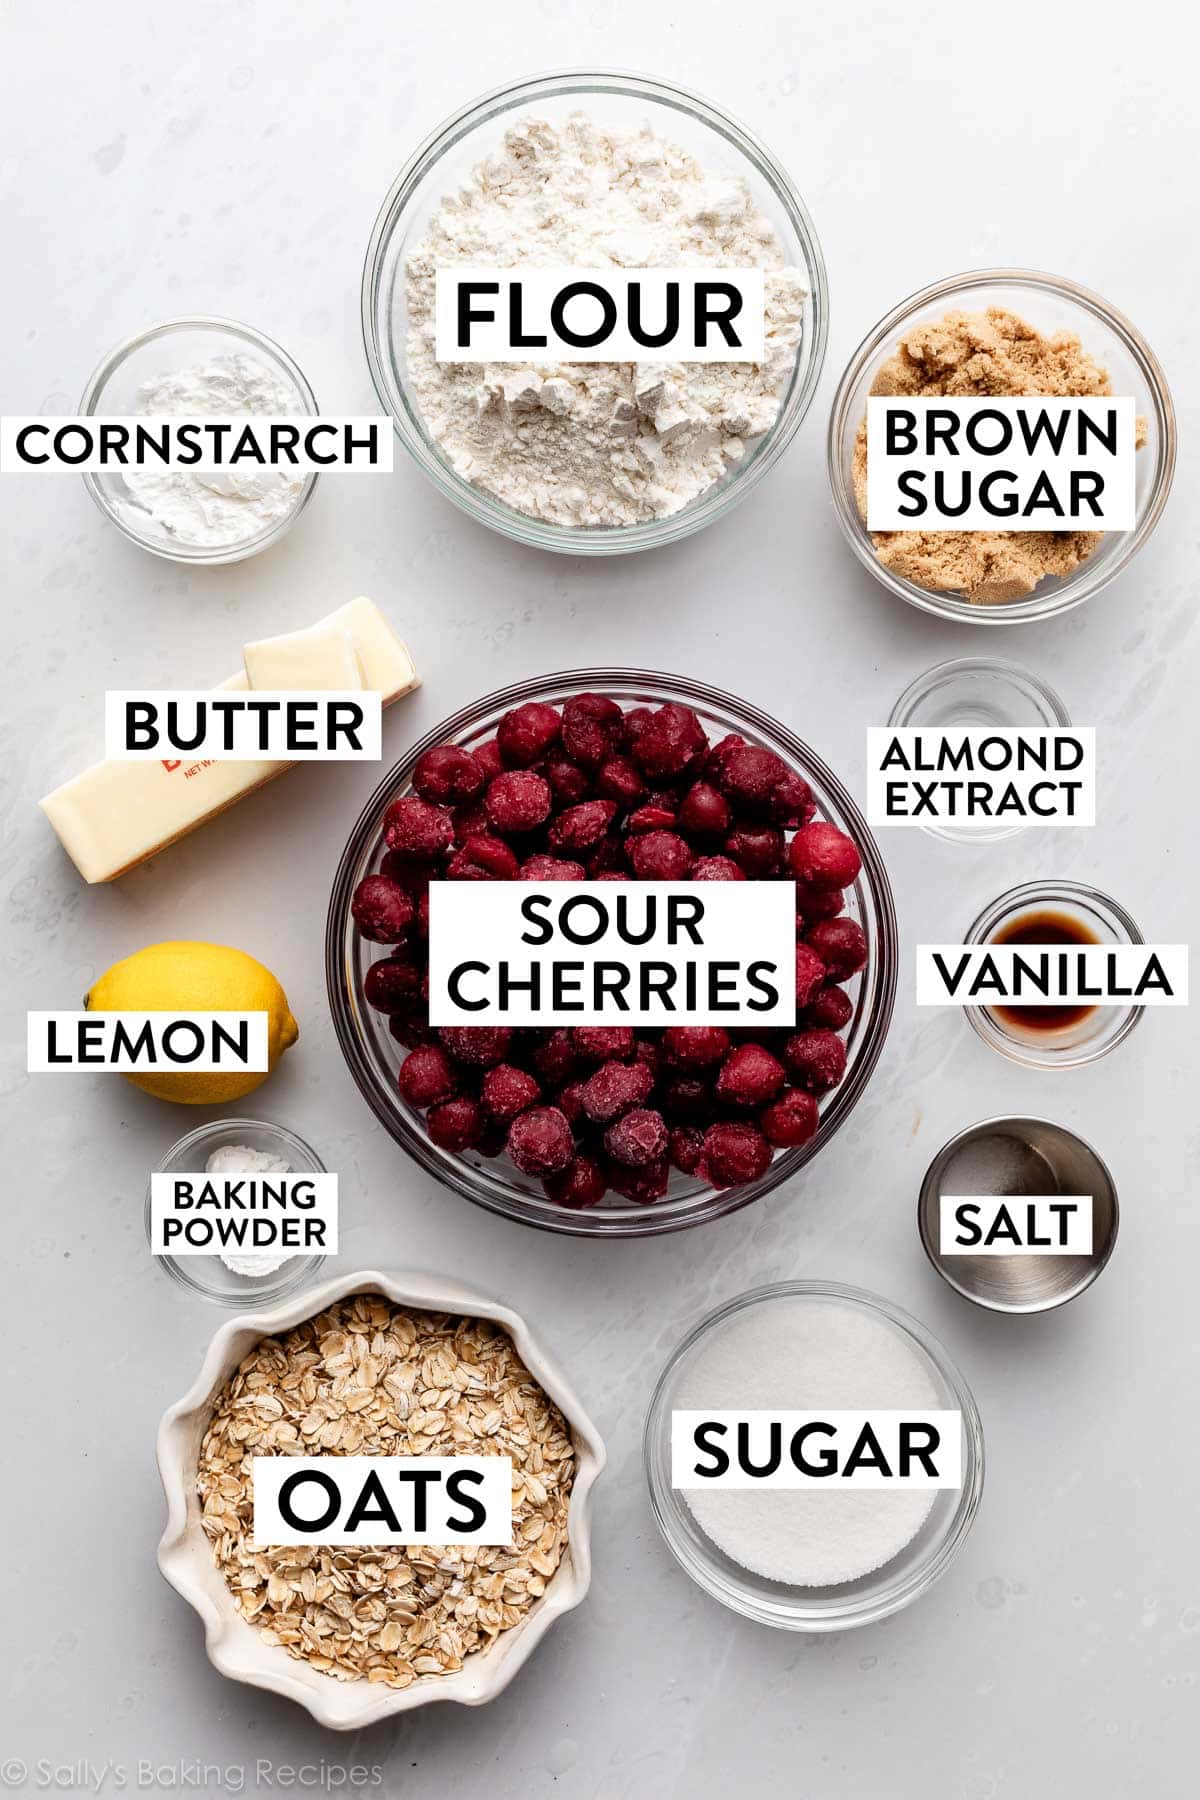
Here’s everything you need:
Crust & Topping Made From Same Mixture
This step really couldn’t be easier. You need 1 bowl and a spatula (no mixer required!), and you’ll use this dough for both the crust and the topping.
- All-Purpose Flour: Flour is the base of the crust/crumble.
- Oats: Feel free to use either whole rolled oats or quick oats here. Reserve 2 Tablespoons of oats to add to the crumble topping before sprinkling it on top of the cherry pie filling.
- Brown Sugar: I love using brown sugar in a dough/crumble like this, because of the moisture and flavor it provides.
- Baking Powder: Baking powder keeps the crust/crumble on the lighter side. Without it, the texture would be a little too hard and dense.
- Lemon Zest & Salt: Small amounts but definitely necessary for flavorful bars. The lemon zest brightens up the zingy sour cherry flavor even more, and salt enhances everything.
- Melted Butter: Using melted butter makes this a stir-by-hand mixture (just like these chewy chocolate chip cookies!). It binds the ingredients together and provides flavor.
Stir it all together, then reserve about 1/3 of the crumble mixture to use as the topping. Press the rest into a lined 9-inch-square baking pan. I like to line pans with parchment paper so I can easily lift the whole thing out of the pan, and cut it into squares on a cutting board. I recommend the same for white chocolate raspberry cheesecake bars and M&M cookie bars, too.
Bake the crust for 10 minutes before you top it with the filling.

Tart Sour Cherries vs. Dark Sweet Cherries
Like with apples, varieties of cherries range in flavor, texture, and size. Some varieties are known as “sweet, snacking cherries,” and others are known as “sour” or “tart” cherries. While the sweeter, firmer varieties are ideal for eating all by themselves, the smaller sour/tart varieties are excellent for baking.
If the word “sour” puts you off, think about all the delicious sour flavors we enjoy in baked goods, like cranberries, lemon, and rhubarb. A little added sugar balances the sour with sweet, and the result is mouth-watering, not mouth-puckering.
Sour cherries are lower in sugar than sweet cherries but higher in acidity, which gives them a vivid flavor, and cooking them concentrates the sugars so they taste sweeter.
If you were to buy canned cherry pie filling, that’s made with sour cherries! So the sour cherry filling going into these pie bars tastes like THE quintessential cherry pie filling. Think: the storybook hometown diner cherry pie of your dreams. 🙂
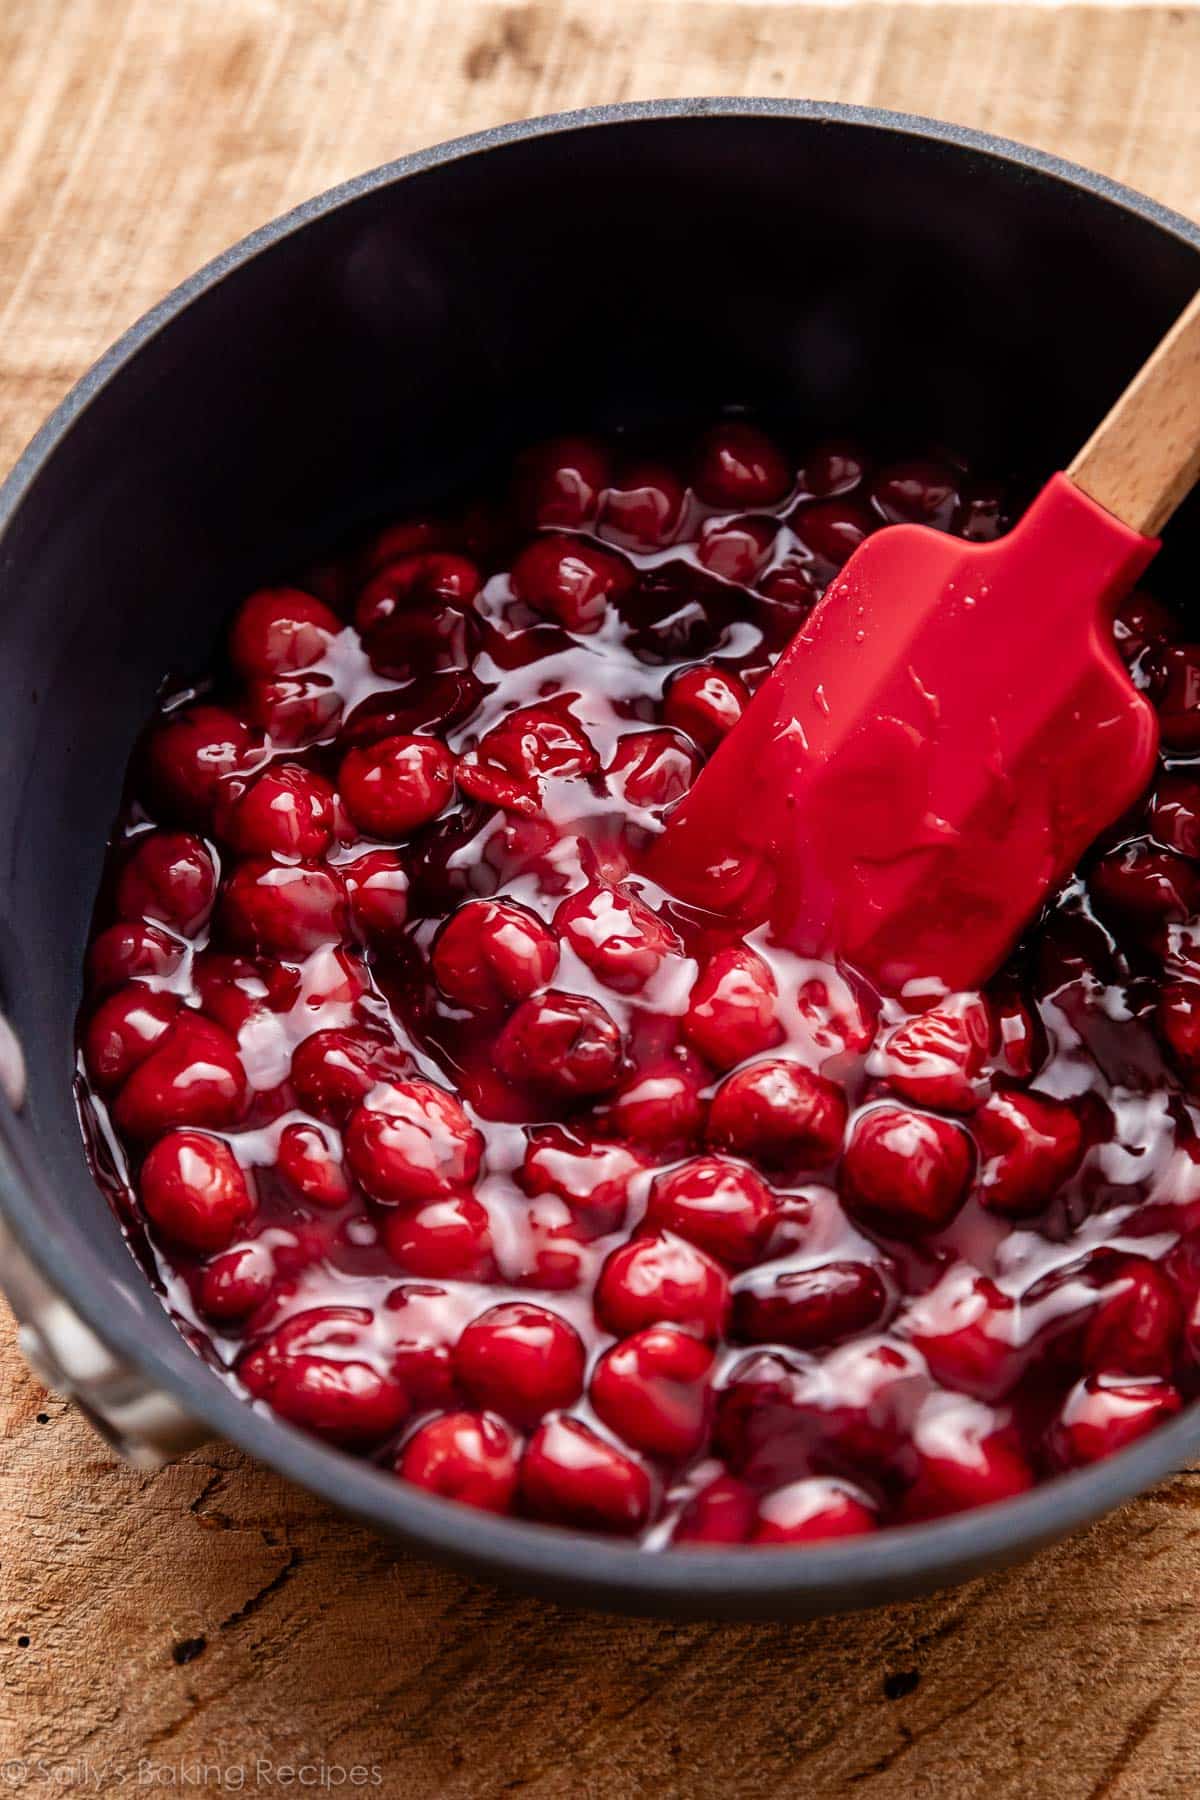
Cook the Sour Cherry Pie Filling on the Stove
Let me walk you through this so you understand the cooking step before you start. You need 3 and 1/2 cups (about 525g) of fresh or frozen sour cherries. No need to thaw. Combine them in a saucepan with sugar and lemon juice. Cook until the cherries begin to release their juices, then pour some of that warm cherry liquid into a small bowl of cornstarch. Use a fork to dissolve the cornstarch:
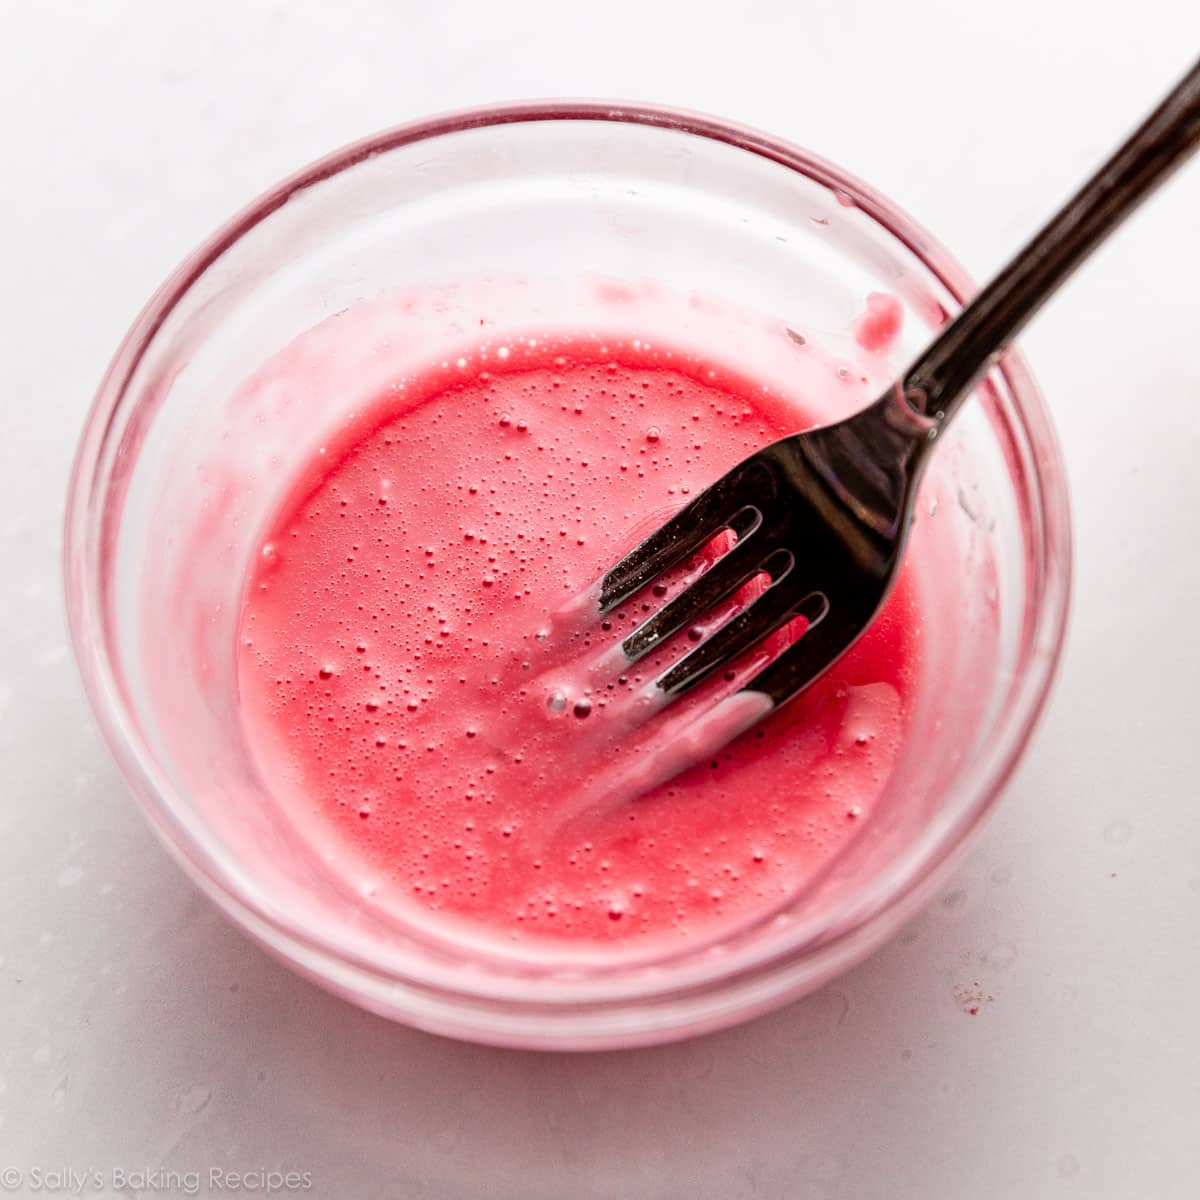
Why are we doing this? Like with this blueberry sauce and strawberry dessert sauce, you need to make a cornstarch slurry mixture, because adding powdery cornstarch to the fruit leaves you with chalky chunks of undissolved cornstarch. And, here, you don’t want to add more liquid to the cherry filling, so that’s why we’re literally using liquid from the cooking cherries.
Nice and thick like the canned stuff, but completely homemade:
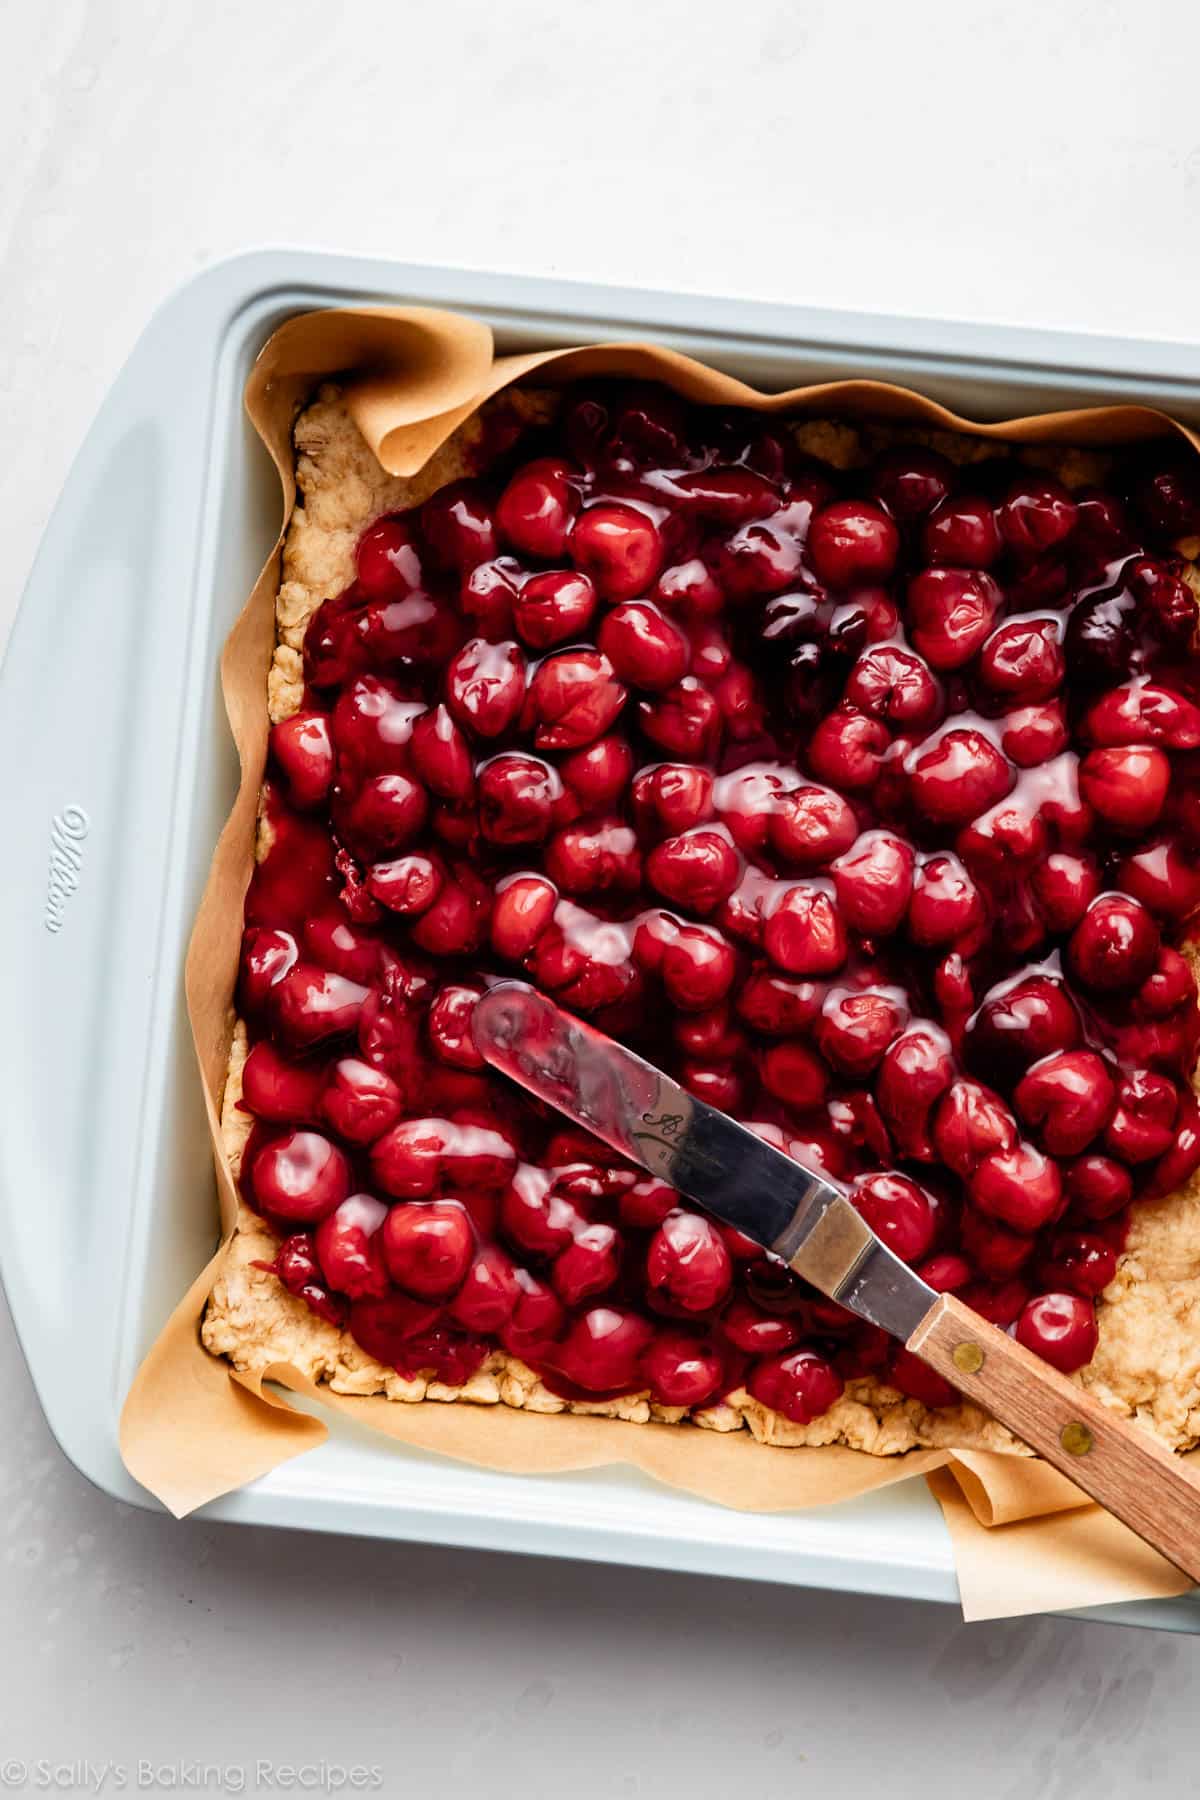
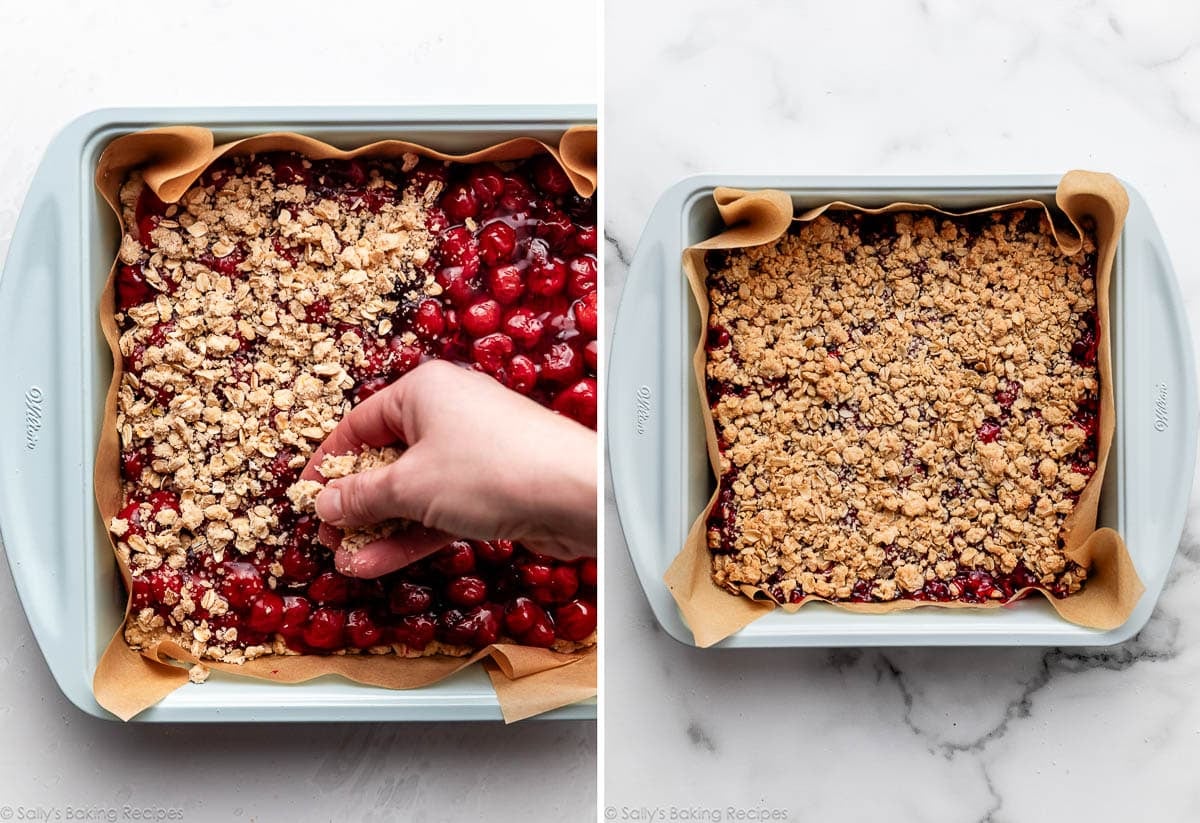
Spread the warm filling over the pre-baked crust. Stir an additional 2 Tablespoons of oats into the remaining crumble mixture, to give it a little extra volume, then sprinkle it over the filling before baking.
No, I do not recommend canned cherries in this recipe. Canned cherries typically have other ingredients added. And if you can find a can/jar that’s just pure cherries in liquid, they’re already quite soft and will cook into mush. I do not recommend them here.
Yes, you can use fresh pitted cherries instead of frozen. The cooking and baking instructions remain the same.
Yes, we tested this and it works wonderfully with 2 changes. Reduce the sugar in the filling to 1/3 cup (67g) and add another 1 teaspoon of lemon juice. Still, if I had to choose, I would use sour cherries here.
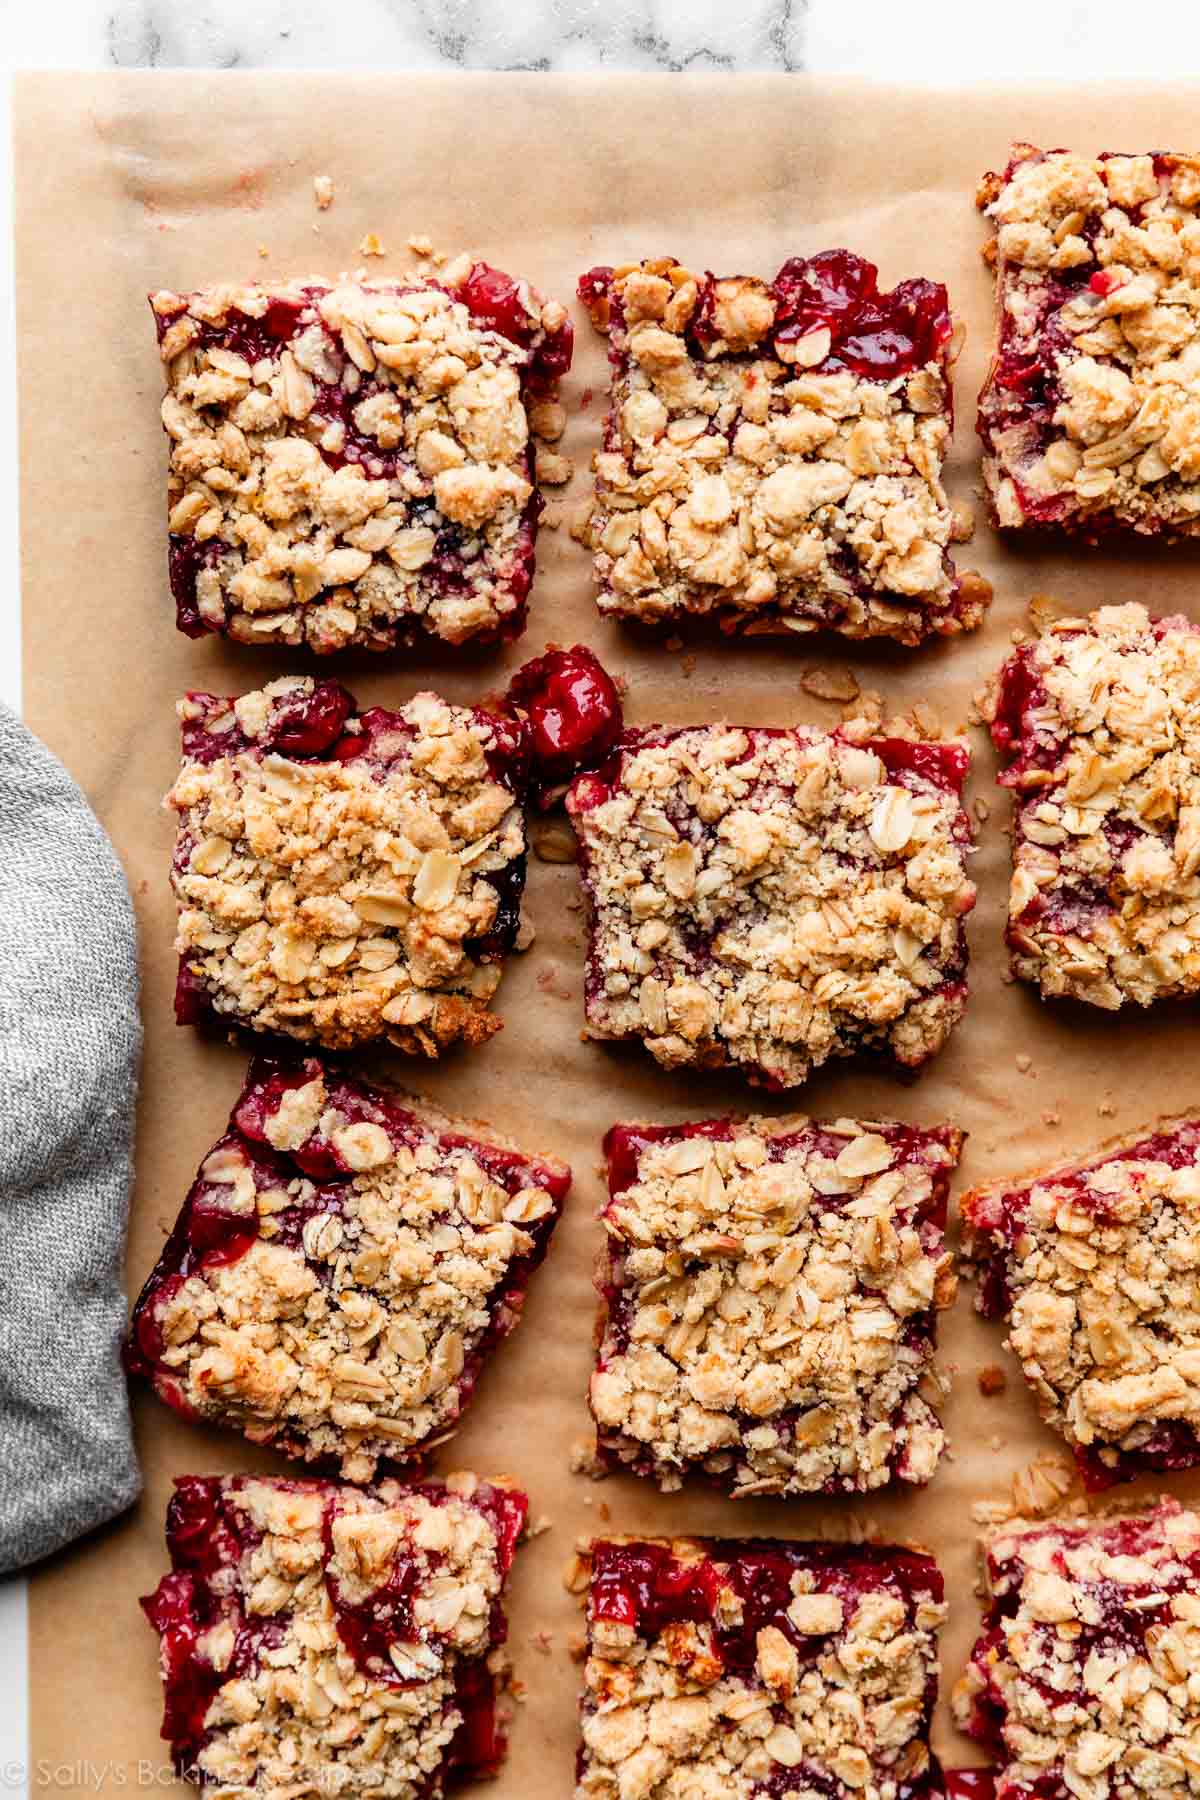
Cool baked crumb-topped cherry pie bars completely, just like you would let a cherry pie cool completely. If you cut the bars into squares while they are still warm, they’ll fall apart.
Optional Icing
If you’d like to top with icing, whisk together the almond icing ingredients in the recipe card below, or you could make this vanilla icing instead. Each one is made from only 3 ingredients and comes together in a flash. PIE BAR PERFECTION, and totally from scratch.
Cherry Pie Bars (From Scratch)
Prep Time: 30 minutes
Cook Time: 1 hour (includes filling)
Total Time: 4 hours, 30 minutes (includes cooling)
Yield: 16 bars
Category: Bars
Method: Baking
Cuisine: American
Description
This is cherry pie without the hassle of making a homemade pie crust! You’ll use frozen (or fresh) sour cherries in the filling, which comes together quickly on the stove. The crust and crumble topping are made from the same 1-bowl mixture. A drizzle of almond icing is the perfect flavor-enhancing finishing touch. Cool completely before icing and cutting.
Crust + Topping
Cherry Filling
Almond Icing (Optional)
Instructions
- Preheat oven to 350°F (177°C). Line a 9-inch square baking pan (I love this one and this one) with parchment paper, leaving an overhang on the sides to easily lift the bars out of the pan. Set aside.
- Make the crust: Whisk the flour, 1 cup (85g) oats, brown sugar, baking powder, lemon zest, and salt together in a medium bowl. Add the melted butter and vanilla, and stir until the mixture resembles moist crumbly sand and no dry spots remain. You will have a little more than 3 cups of crust mixture, or about 520g. Press 2/3 of the mixture (about 2 cups/345g—doesn’t have to be exact) into the prepared baking pan. Press it into the pan (with your hands, a large spoon or spatula, or the bottom of a measuring cup) to form a crust. Bake for 10 minutes, and then remove from the oven to slightly cool.
- Make the filling: Place the cornstarch in a small bowl and set aside, within reach of the stove. In a medium saucepan set over medium heat, combine the cherries, sugar, and lemon juice. Cook, stirring occasionally, until the cherries begin to release their juices—about 4 to 6 minutes. While the cherries continue to cook, carefully remove a couple of spoonfuls of the juice from the saucepan and add to the bowl of cornstarch. Using a fork, mix the cornstarch and cherry juice together until the cornstarch is dissolved. Stir this mixture into the filling, then bring to a boil and cook, stirring occasionally, until the filling has thickened, about 10 minutes. Remove from heat and stir in the almond extract.
- Pour/spread the filling over the warm crust. Stir 2 Tablespoons oats into the remaining crumble mixture, then sprinkle it all over the filling, and lightly press it down with the back of a large spoon or flat spatula.
- Bake for about 40–50 minutes or until the top is lightly browned and a toothpick comes out *mostly* clean (with a few jammy cherry specks!). Mine take about 45 minutes.
- Remove from the oven and allow the bars to cool completely in the pan set on a wire rack. After about 1 hour, you can place the whole pan in the refrigerator to help speed things up.
- Make the optional icing: Whisk the icing ingredients together. Add more milk to thin out, if desired. Drizzle over cooled bars.
- Lift the bars out of the pan using the edges of the parchment paper lining and place the whole thing on a cutting board. Slice squares with a sharp knife and, for neat squares, wipe the knife clean between each cut.
- Cover and store leftover cherry pie bars (with or without icing) at room temperature for up to 2 days or in the refrigerator for up to 1 week.
Notes
- Make Ahead & Freezing Instructions: You can refrigerate the cooled bars before cutting into squares, see step 6. Baked and cooled bars freeze well up to 3 months. Thaw overnight in the refrigerator and bring to room temperature, if desired, before serving.
- Special Tools (affiliate links): 9-Inch Square Baking Pan or this 9-Inch Square Baking Pan | Glass Mixing Bowl | Whisk | Citrus Zester | Citrus Juicer | Cooling Rack
- Can I use canned/jarred cherries? No, I do not recommend canned cherries in this recipe. Canned cherries typically have other ingredients added. And if you can find a can/jar that’s just pure cherries in liquid, they’re already quite soft and will cook into mush. I do not recommend them here.
- Can I use dark sweet cherries instead of sour? Yes, we tested this and it works wonderfully with 2 changes: Reduce the sugar in the filling to 1/3 cup (67g) and add another 1 teaspoon of lemon juice. Still, if I had to choose, I would use sour cherries here.
- Can I bake this in a 9×13-inch pan? You can, but I have had better results baking a smaller batch, as written, in the 9-inch square pan. If you want to make a larger batch, double each ingredient and bake in a 9×13-inch pan. Increase crust pre-bake time to 18 minutes. Increase the bake time after adding the filling & crumble topping to 1 hour, or until filling is bubbling.
Keywords: cherry pie bars